Mesa Arch is one of the most photographed spots in Canyonlands National Park, and for good reason. The Mesa Arch Trail is a short loop that leads to this dramatic sandstone arch perched right at the edge of a canyon, framing a sweeping view over the rugged landscape of the Island in the Sky district.
In this guide, we’ll cover everything you need to know about hiking the Mesa Arch Trail, including trail details, what to expect along the route, sunrise logistics, and practical tips for avoiding the biggest crowds. The trail is particularly popular at sunrise (with good reason), as the underside of the arch glows orange as the first light reflects off the canyon walls below. That brief lighting effect has made Mesa Arch one of the park’s most popular sunrise locations and one of the most recognizable images from southern Utah.
Mesa Arch Trail – At a Glance
Short loop with an immediate payoff – The trail reaches the arch in just a few minutes, making it one of the quickest high-reward stops in Canyonlands.
Easy terrain with minimal elevation – The loop follows a mostly flat path across dirt and slickrock, with only minor elevation changes.
Perched directly on the canyon edge – Mesa Arch sits right at the rim, framing deep canyons and distant rock formations far below.
Sunrise is the most popular time – Early light reflects up from the canyon, briefly illuminating the underside of the arch with a bright orange glow.
Crowds concentrate in a small space – The viewpoint around the arch is compact, so it fills quickly and can feel congested, especially at sunrise.
Trail Difficulty: Very Easy
Time Required: 15-20 minutes (but plan to spend longer for photography)


Disclosure: This page (Mesa Arch Trail Guide) may contain product affiliate links. At no additional cost to you, we may receive a commission for purchases made through these links. More details can be found on our disclosure and policies page.
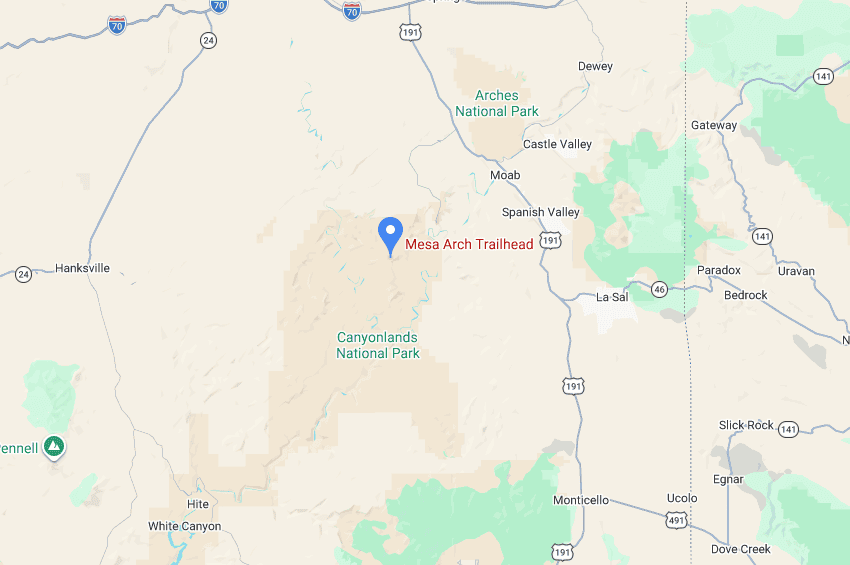
Mesa Arch Trail: Location, Map, and How to Get There
The Mesa Arch Trail is located in the Island in the Sky district of Canyonlands National Park, in southeastern Utah, about 30–40 minutes northwest of the town of Moab.
This section of the park sits on a high plateau overlooking the Colorado and Green River canyons, with Mesa Arch positioned just off the main scenic road that loops through Island in the Sky.
From Moab, the drive is straightforward. Head north on US-191, then turn left onto UT-313, which leads directly to the Island in the Sky entrance.
Driving Times to Canyonlands (Island in the Sky section)
- Moab: 30-40 minutes
- Arches National Park: 25-30 minutes
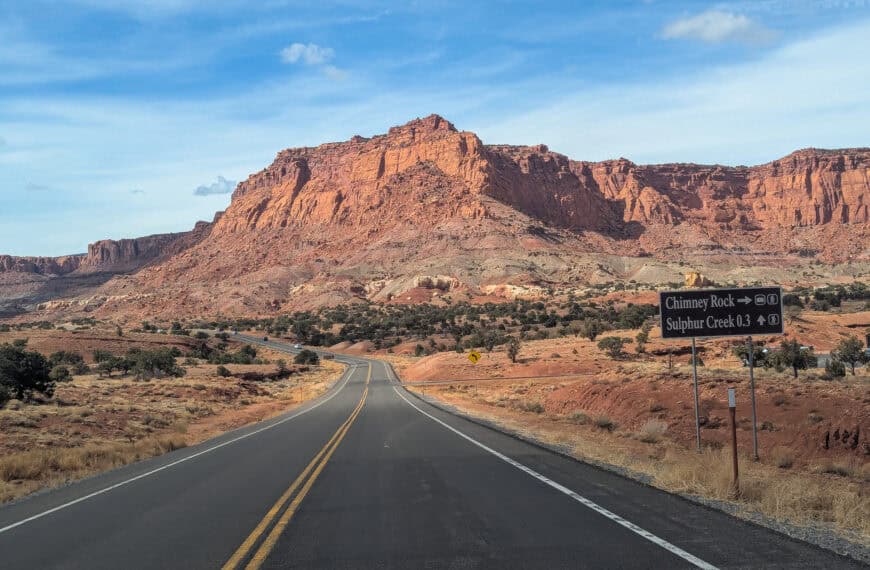
- Capitol Reef National Park: 2 hours 30 minutes
- Salt Lake City: 3 hours 45 minutes
- Las Vegas: 6 hours 30 minutes
These times assume clear weather and normal traffic conditions.
If you need to book a rental vehicle for your hiking excursion, we highly recommend using Discover Cars to get the best rates on your rental in Utah, Nevada, and Arizona.
We also highly recommend Airalo (eSIM card) for your connectivity needs when travelling abroad. Airalo is the world’s first and largest eSIM store with eSIM plans for 200+ countries and regions worldwide.
Mesa Arch Trail – Trailhead Access, Parking & Fees
Trailhead Location
After entering the park, continue along the main road for about 6 miles (10 km) until you reach the signed Mesa Arch parking area on the left (link to Google Maps).
The trail begins directly from the parking lot, with clear signage marking the start of the loop.
Trailhead parking lot
The Mesa Arch parking area is a medium-sized paved lot located directly beside the trailhead.
Despite its size, it fills very quickly, especially at sunrise, when this is one of the most in-demand spots in the park. During peak seasons (spring and fall), it’s common for the lot to be full well before sunrise.
Turnover is slower than at many other viewpoints, as most visitors wait at the arch for lighting conditions, particularly in the early morning.
Facilities
Vault toilets are available at the trailhead parking area.
Trail Opening Hours
The Mesa Arch Trail is accessible year-round, 24 hours a day, weather permitting.
Entrance Fees for Arches National Park
Anyone visiting Canyonlands National Park, whether for hiking, scenic viewpoints, or the scenic drive, must pay the applicable entrance fee to the National Park Service.
Entrance Fees (per vehicle, valid 7 days)
Private vehicle: $30
Motorcycle: $25
Individual (on foot, bicycle, etc.): $15
Annual Pass Options
Southeast Utah Parks Pass: $55 – valid for one year and covers Arches, Canyonlands National Park, and Hovenweep National Monument.
America the Beautiful Pass: $80 – valid for one year at all U.S. National Parks and more than 2,000 federal recreation sites nationwide. This is the best value if you plan to visit multiple national parks within a year.
Passes can be purchased at the park entrance station, at the Visitor Center, or online through the USGS website or via the REI store.
—> For visitors exploring multiple parks in Utah, such as Arches, Bryce Canyon, Capitol Reef, and Zion—>the America the Beautiful Pass is usually the best value
Mesa Arch Trail – Trail Stats, Difficulty, and Map
Distance: 0.7 miles (1.1 km)
Route Type: Loop
Elevation gain: 60 ft / 19 m (cumulative elevation gain)
AllTrails rating (2026): 4.8, 11,500 ratings
Duration: Most people complete the full trail in 15-20 minutes (but linger much longer for photography at the arch)
Trail difficulty level assessment:
Very Easy | Easy | Moderate | Moderately Challenging | Challenging
Overall, the Mesa Arch Trail is best described as Very Easy. Although there are a few ups and downs, there is no significant elevation gain, and the trail is very short.
Not an AllTrails member yet? We highly recommend signing up for either their free or paid membership plans. The free plan allows you to find new trails and plan routes but it can only be used while hiking if you have access to mobile data. The paid membership plan (AllTrails+) allows you to download trail maps for offline use and provides live progress updates and off-route notifications.
If you are still uncertain – you should know that the All Trails mobile application was voted the 2023 iPhone App of the Year by Apple.
We find that AllTrails is a great tool to have when hiking, particularly for assisting with navigation when the trail is hard to locate and to help monitor your progress along the trail, which helps estimate how much time you’ll need to complete the trail.
Mesa Arch Trail – Trail Description and What to Expect
The Trail
The Mesa Arch Trail begins directly from the parking lot and quickly splits into a short loop. Most hikers head counterclockwise, though the route works equally well in either direction.
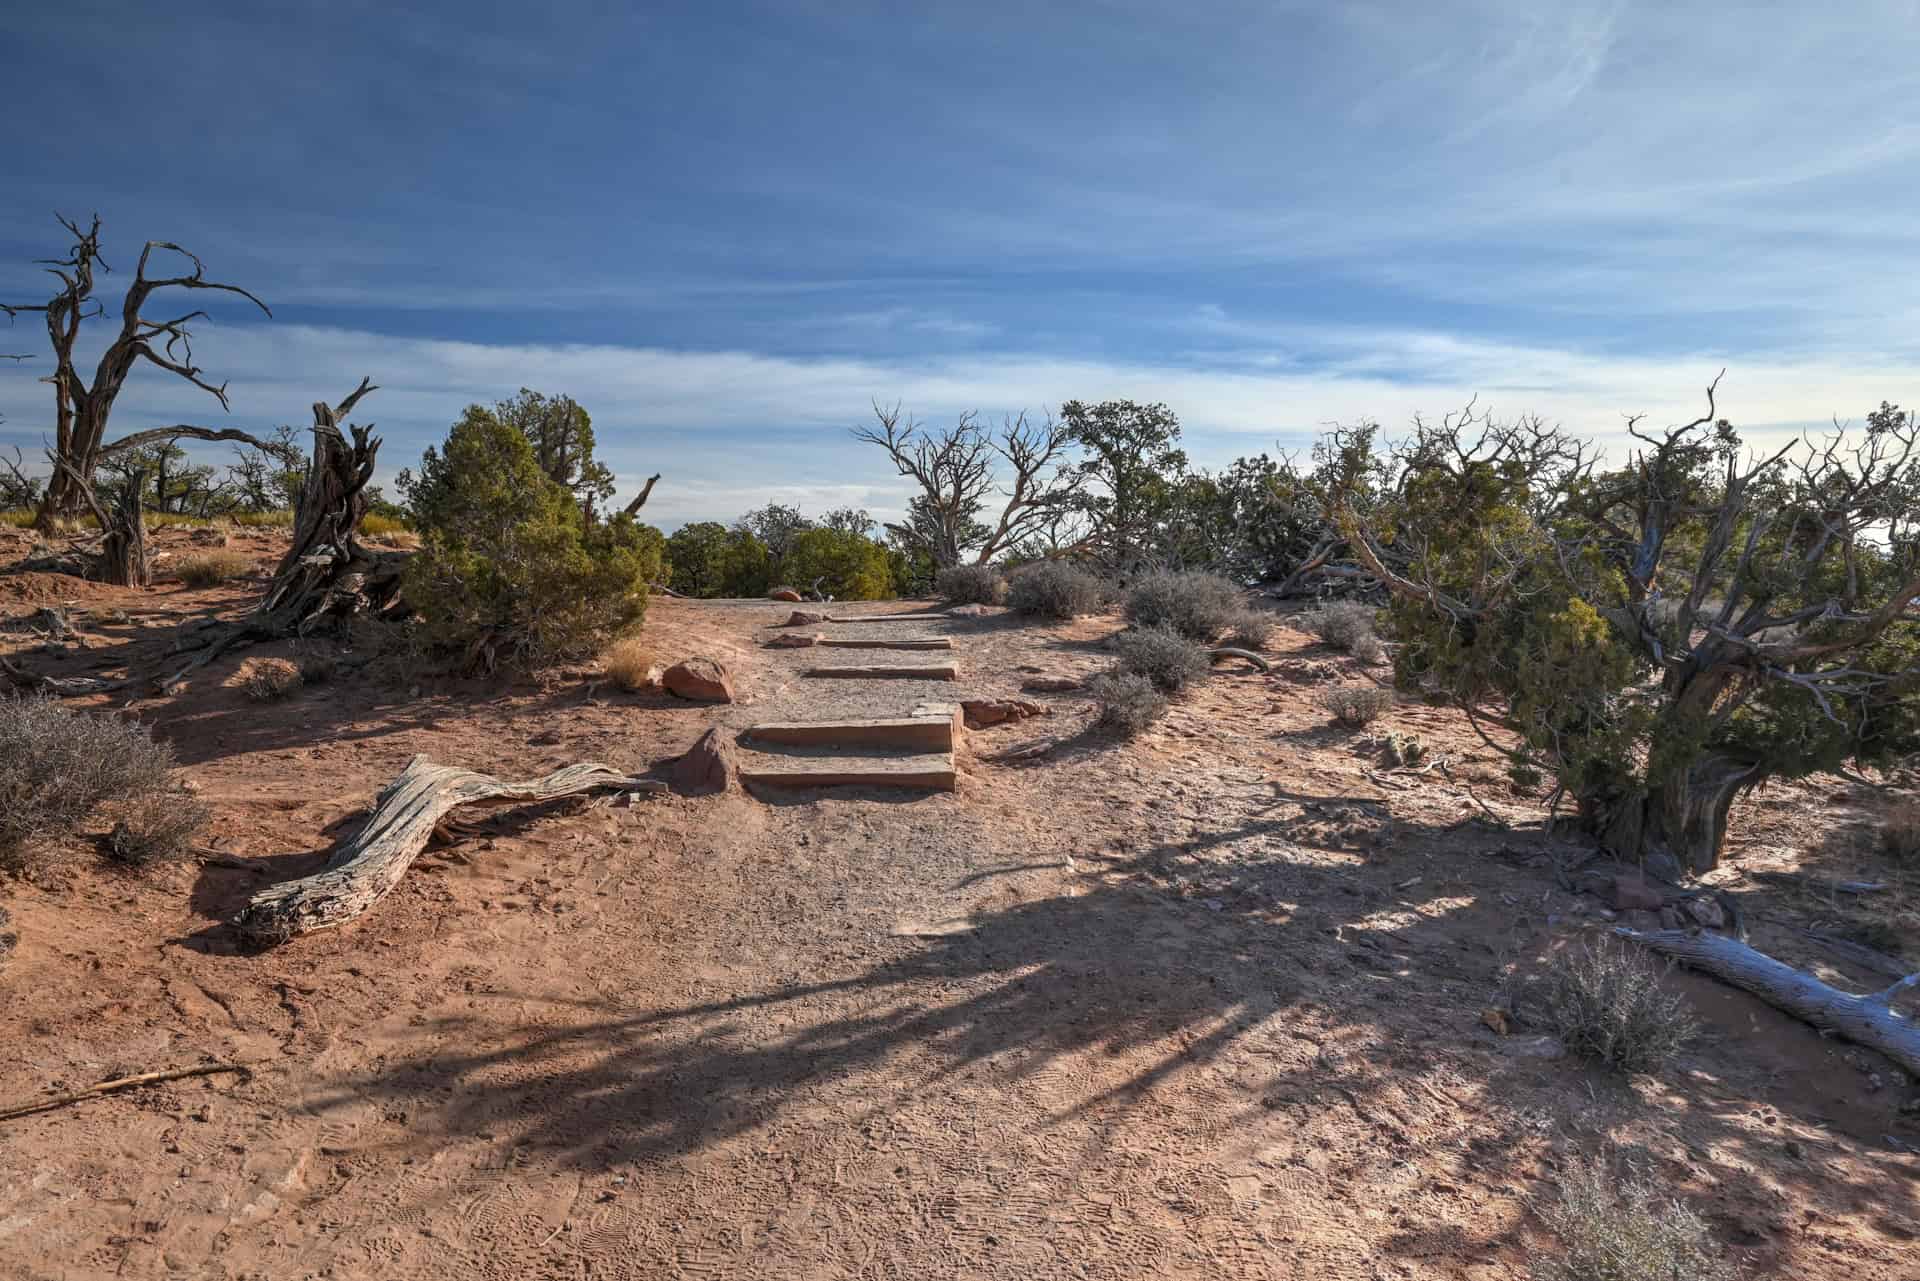
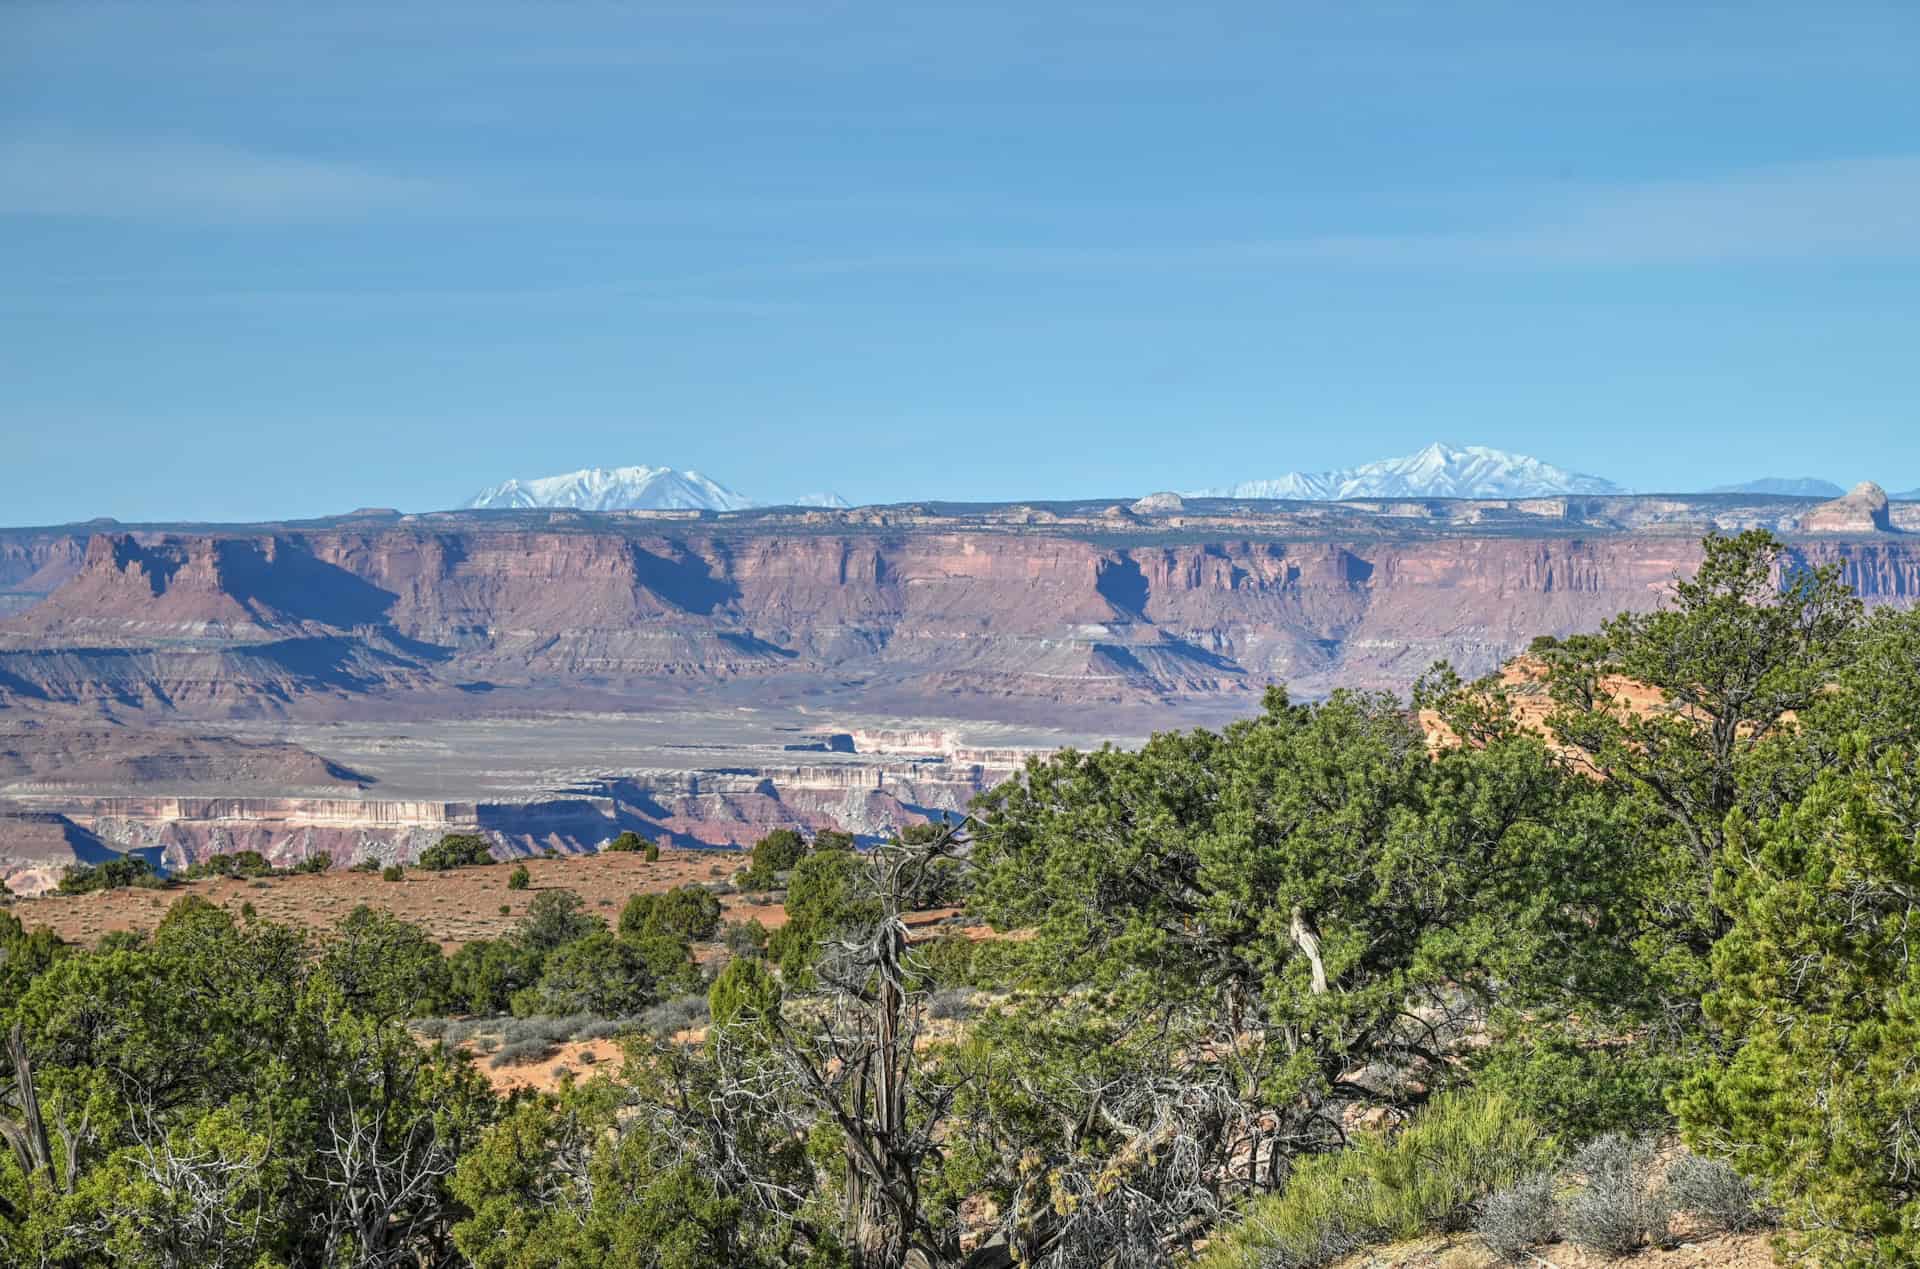
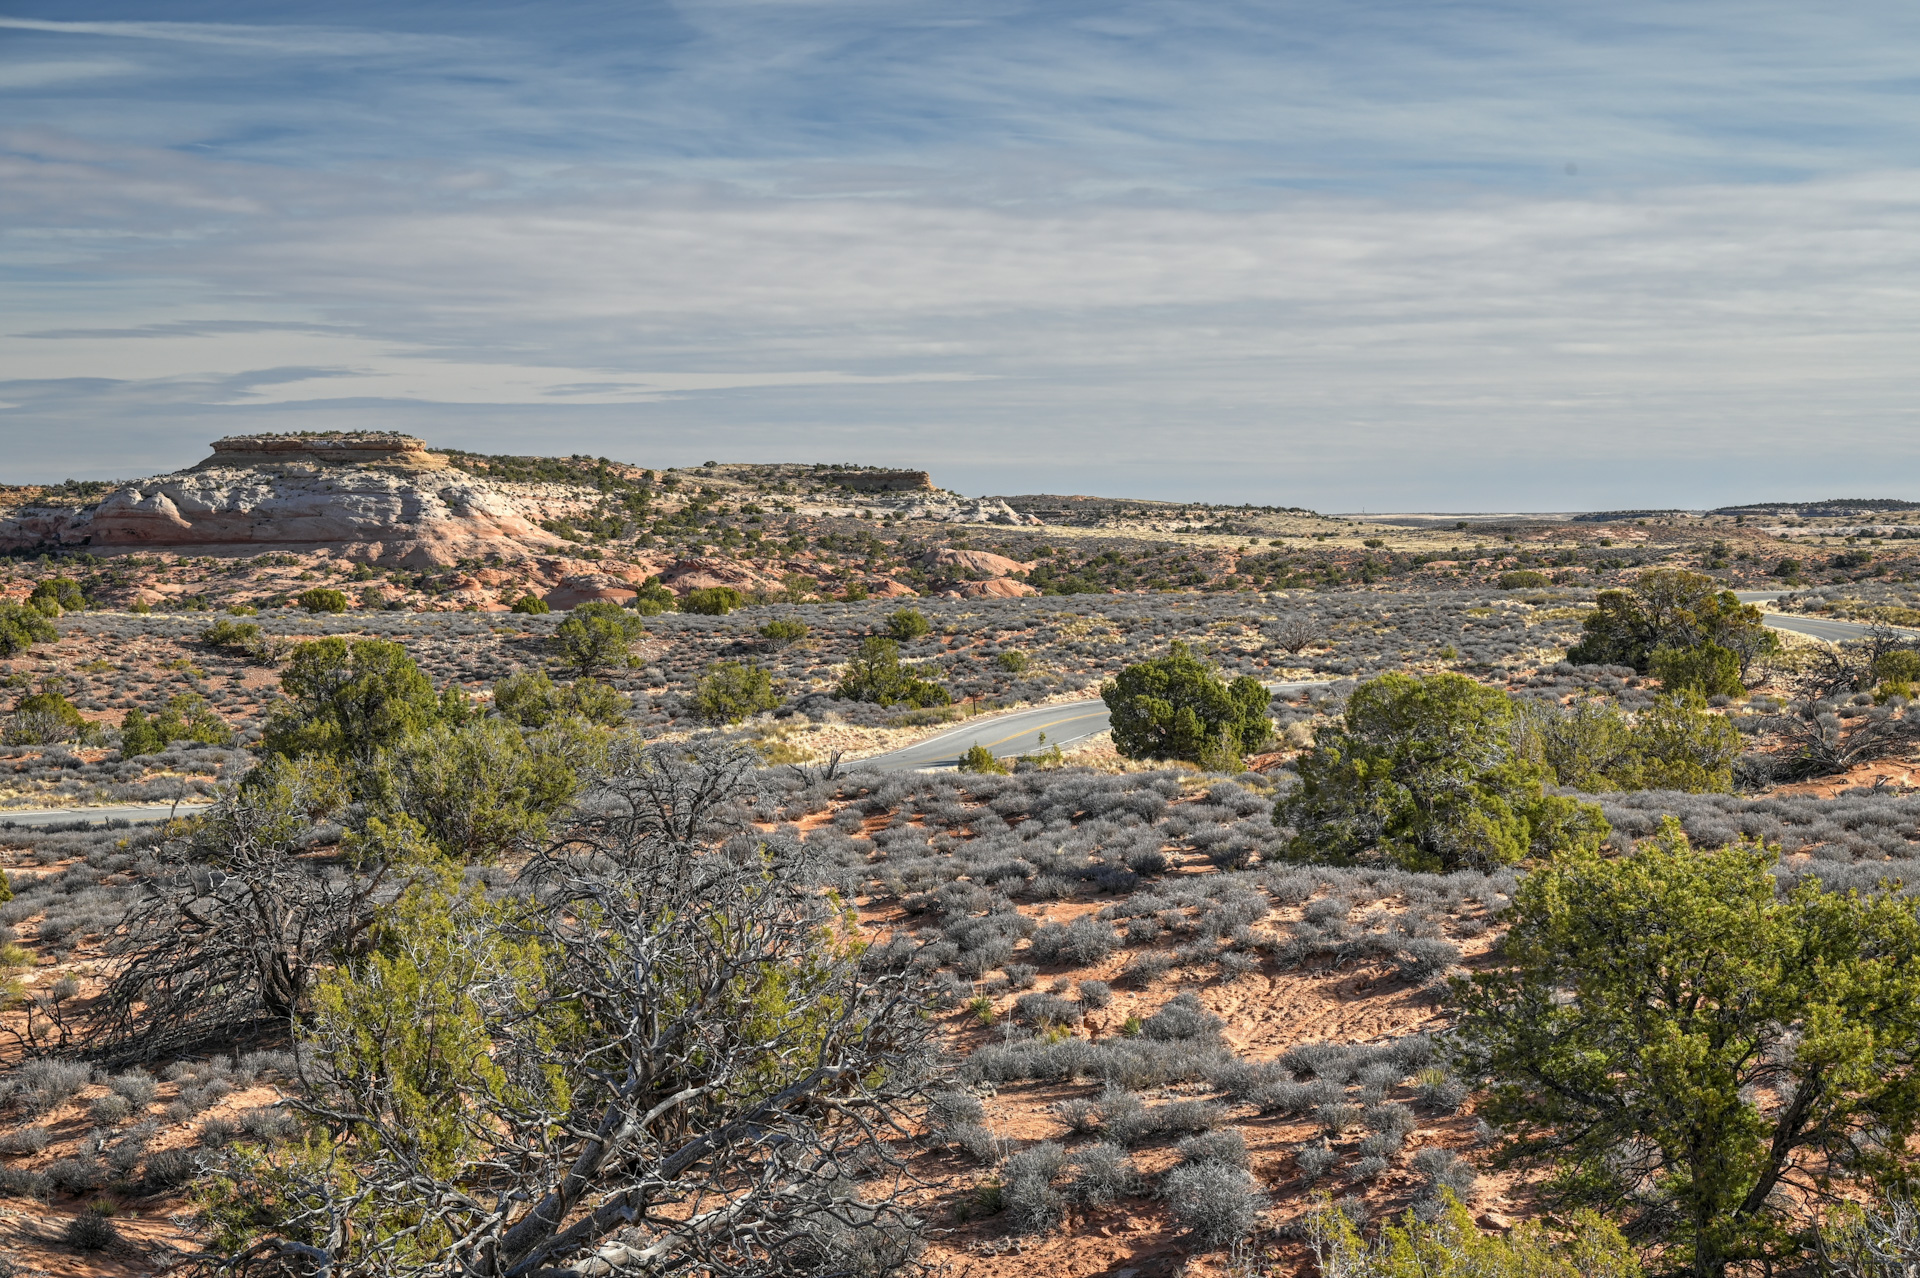
The path follows a mix of packed dirt and slickrock, with only minor elevation changes throughout. Within the first few minutes, the trail crosses open desert terrain dotted with low shrubs and small juniper trees.
Route-finding is straightforward. The path is well-defined, and where it crosses slickrock, small cairns help guide the way.
Because of the trail’s short length and gentle profile, the hike itself feels more like a brief walk than a sustained effort. The main consideration here is not difficulty, but timing, especially if you’re visiting around sunrise, when foot traffic increases significantly.
You’ll get to enjoy some nice views and scenery along the way while you wait for the arch to appear.
After roughly 5–10 minutes of walking, the trail reaches the canyon rim, where Mesa Arch comes into view.
The Arch and Viewpoint
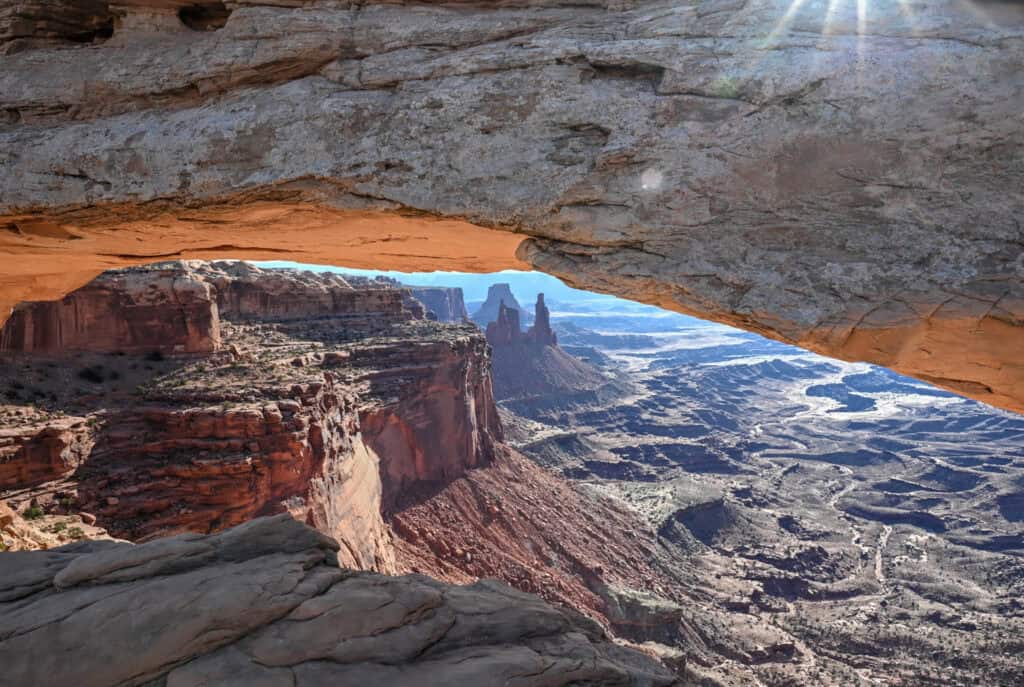
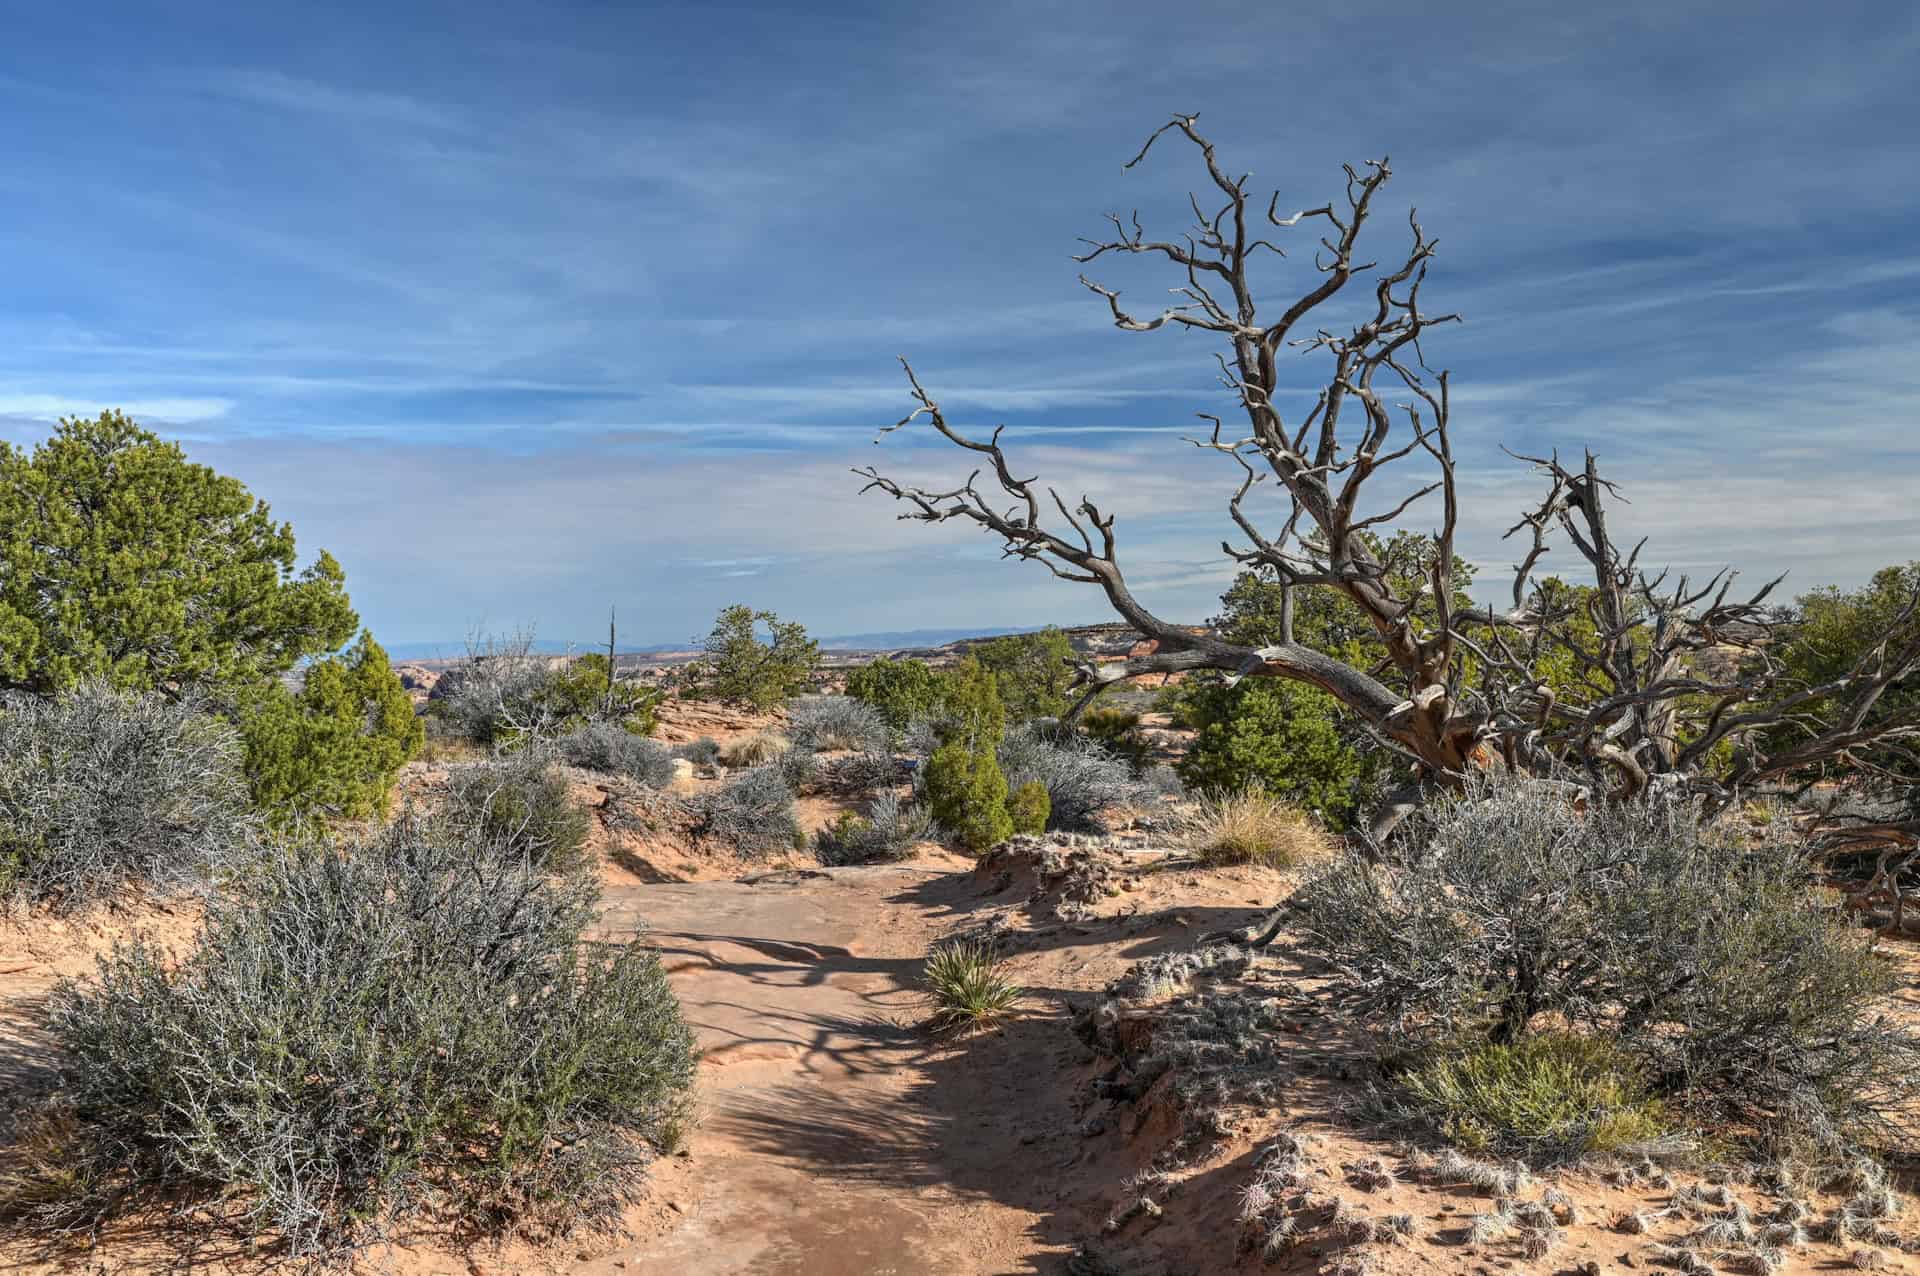
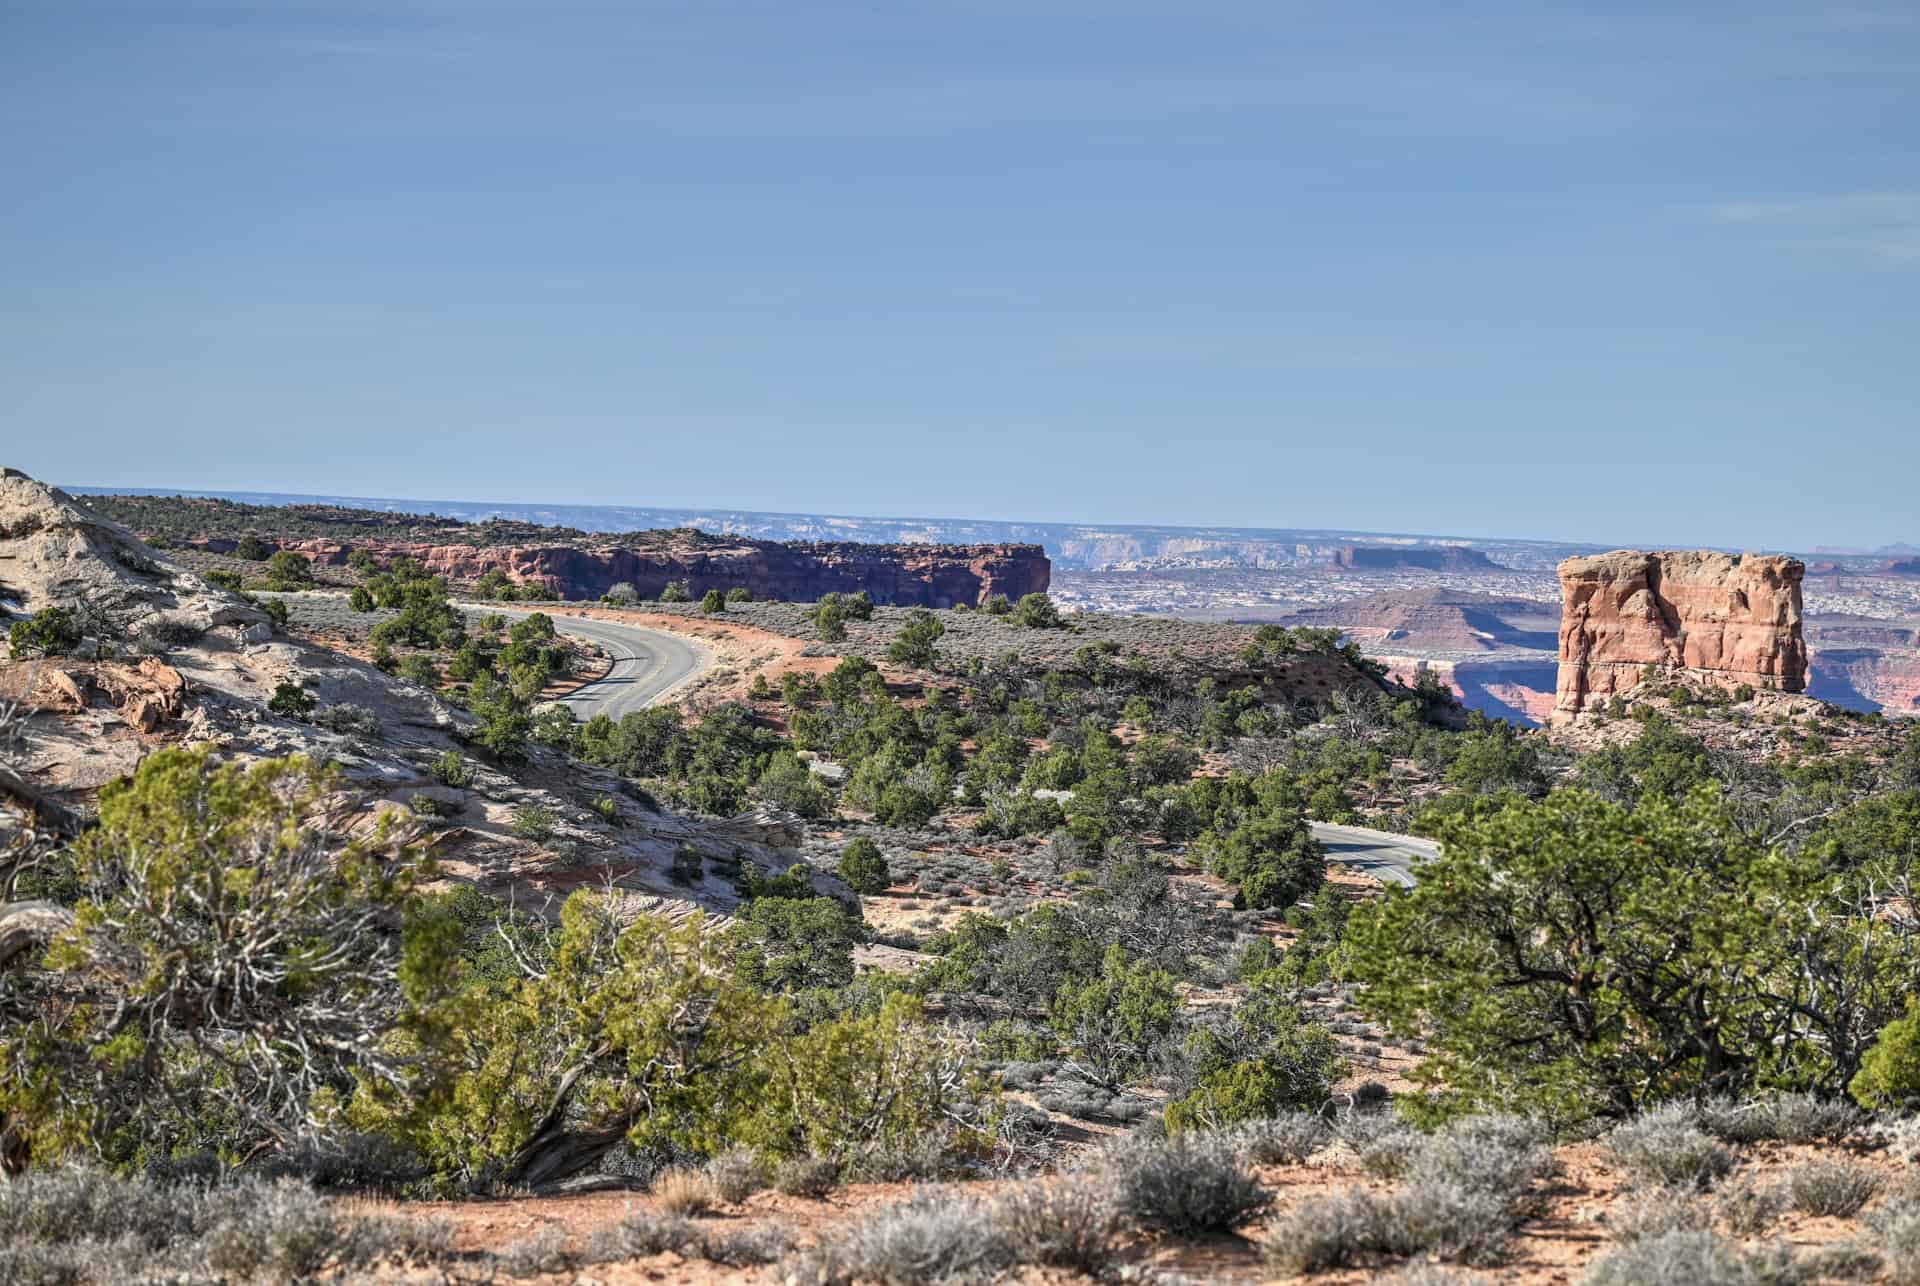
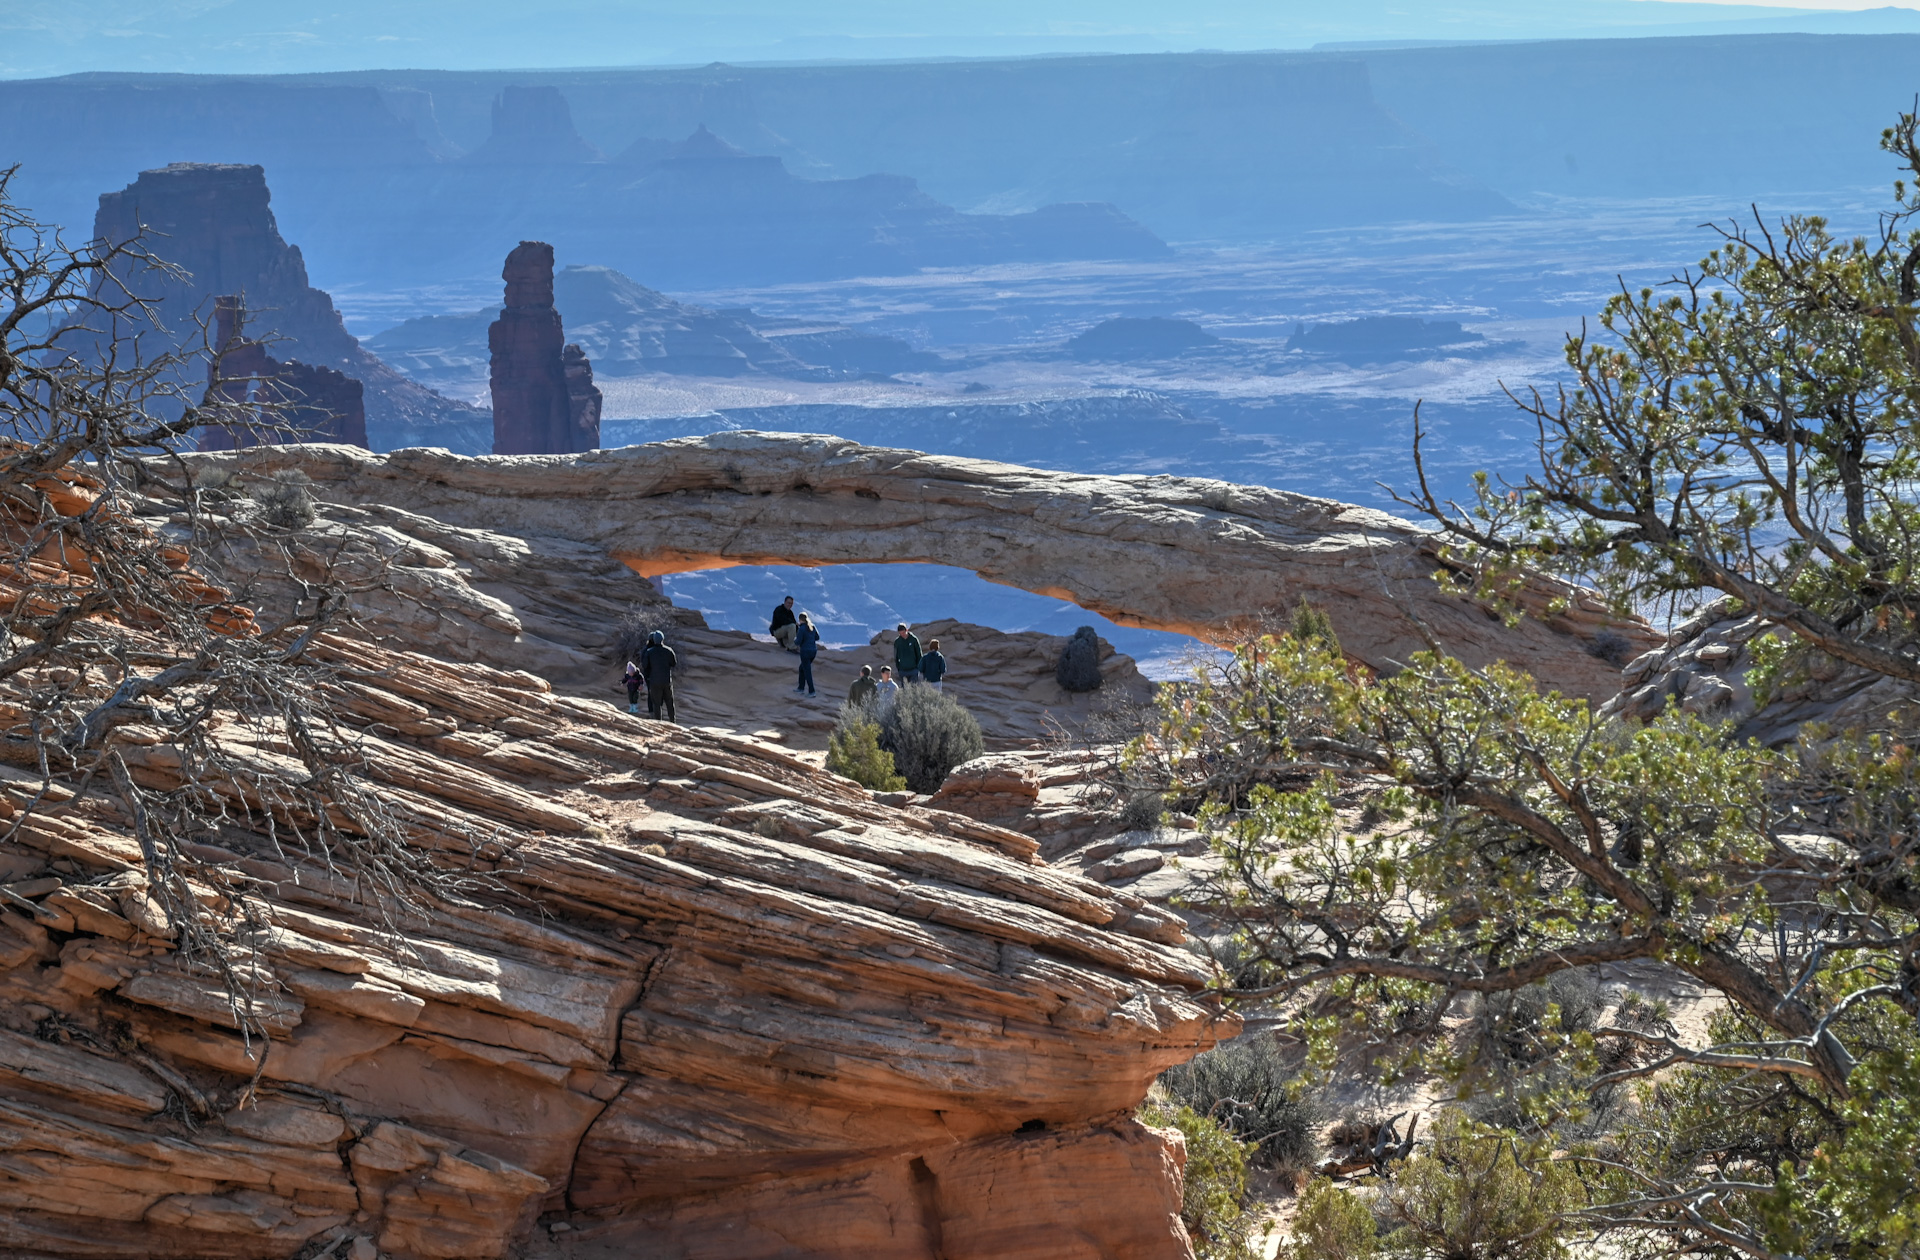
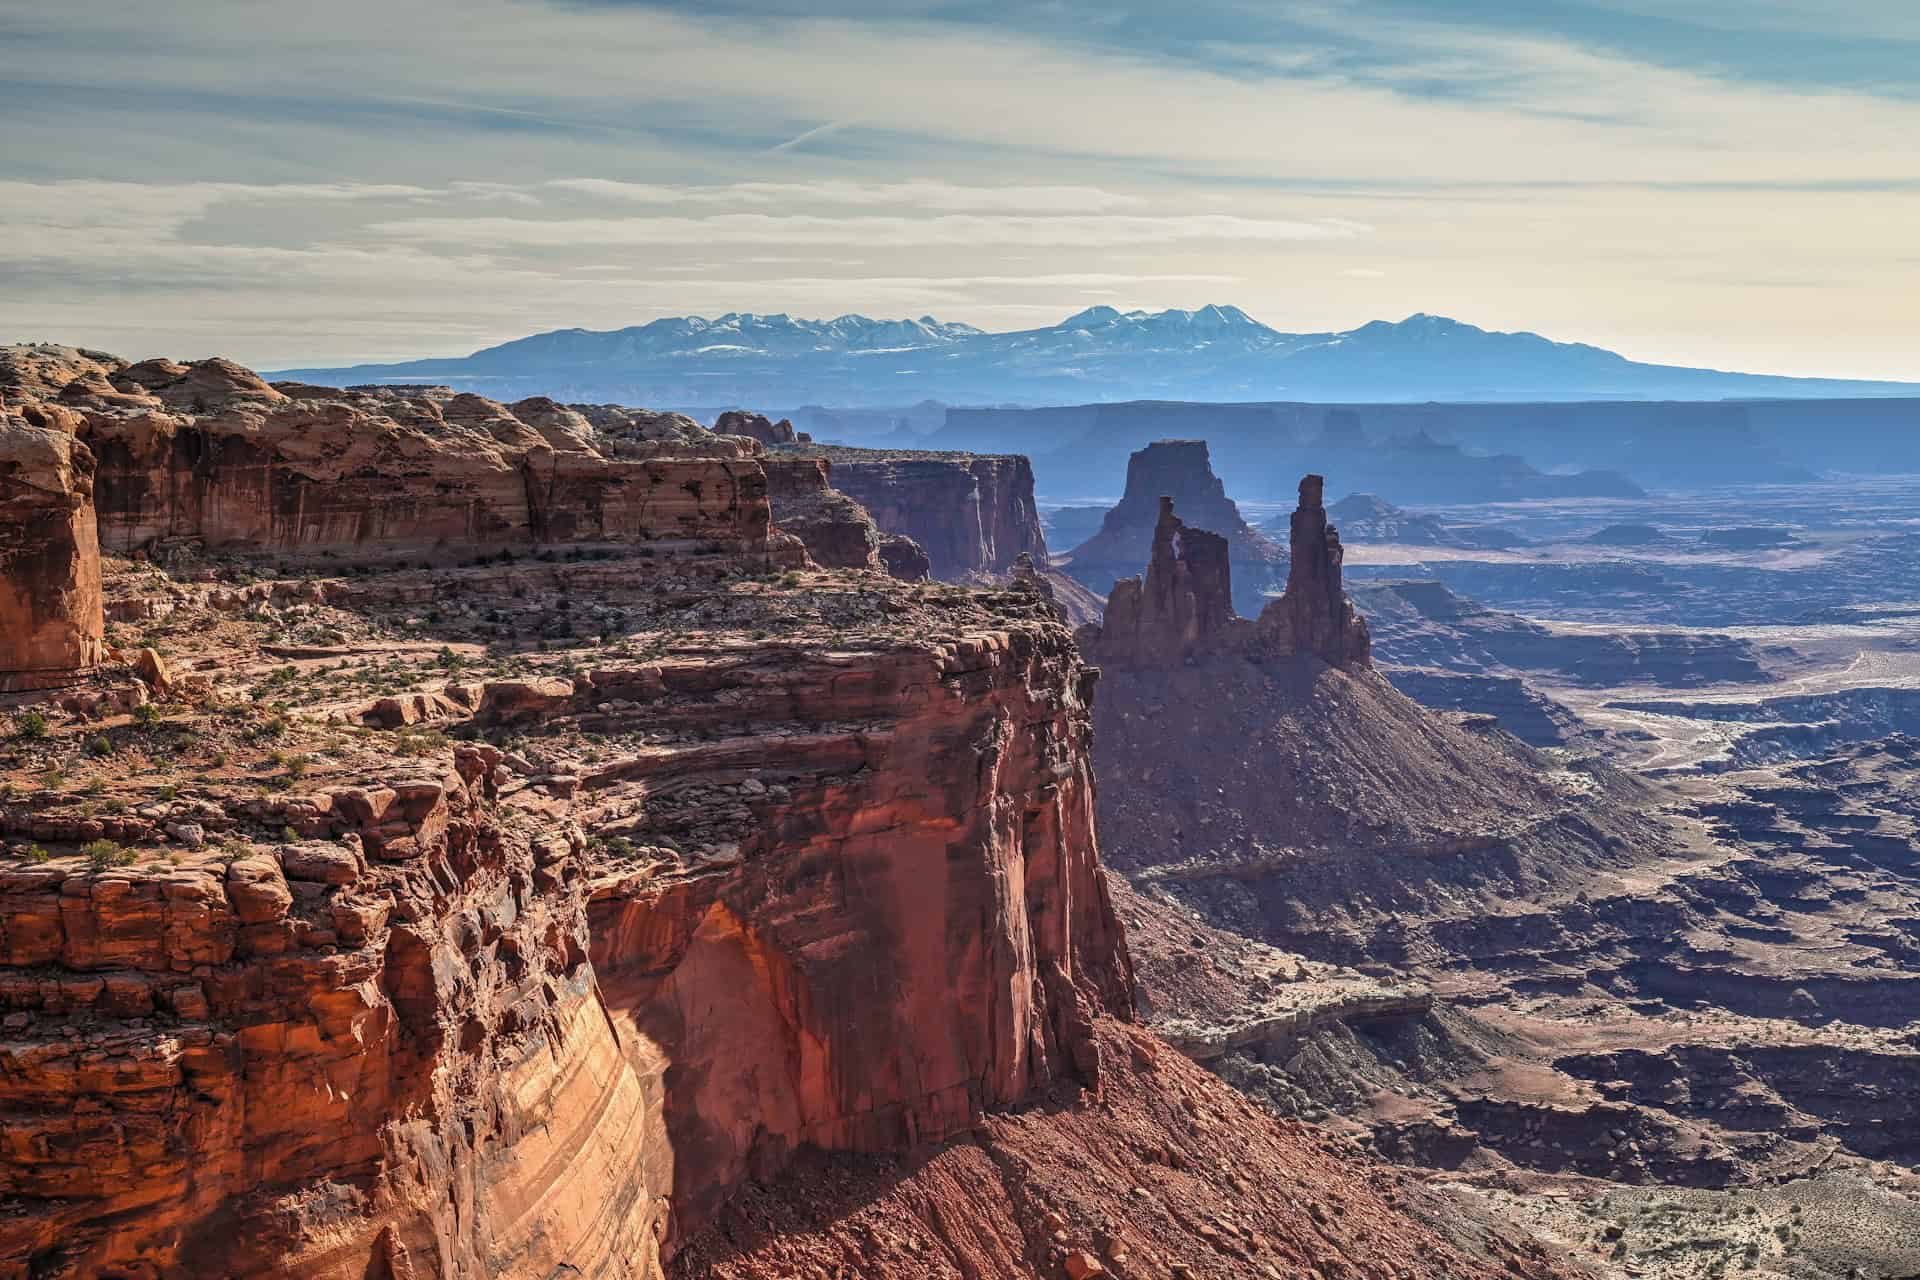
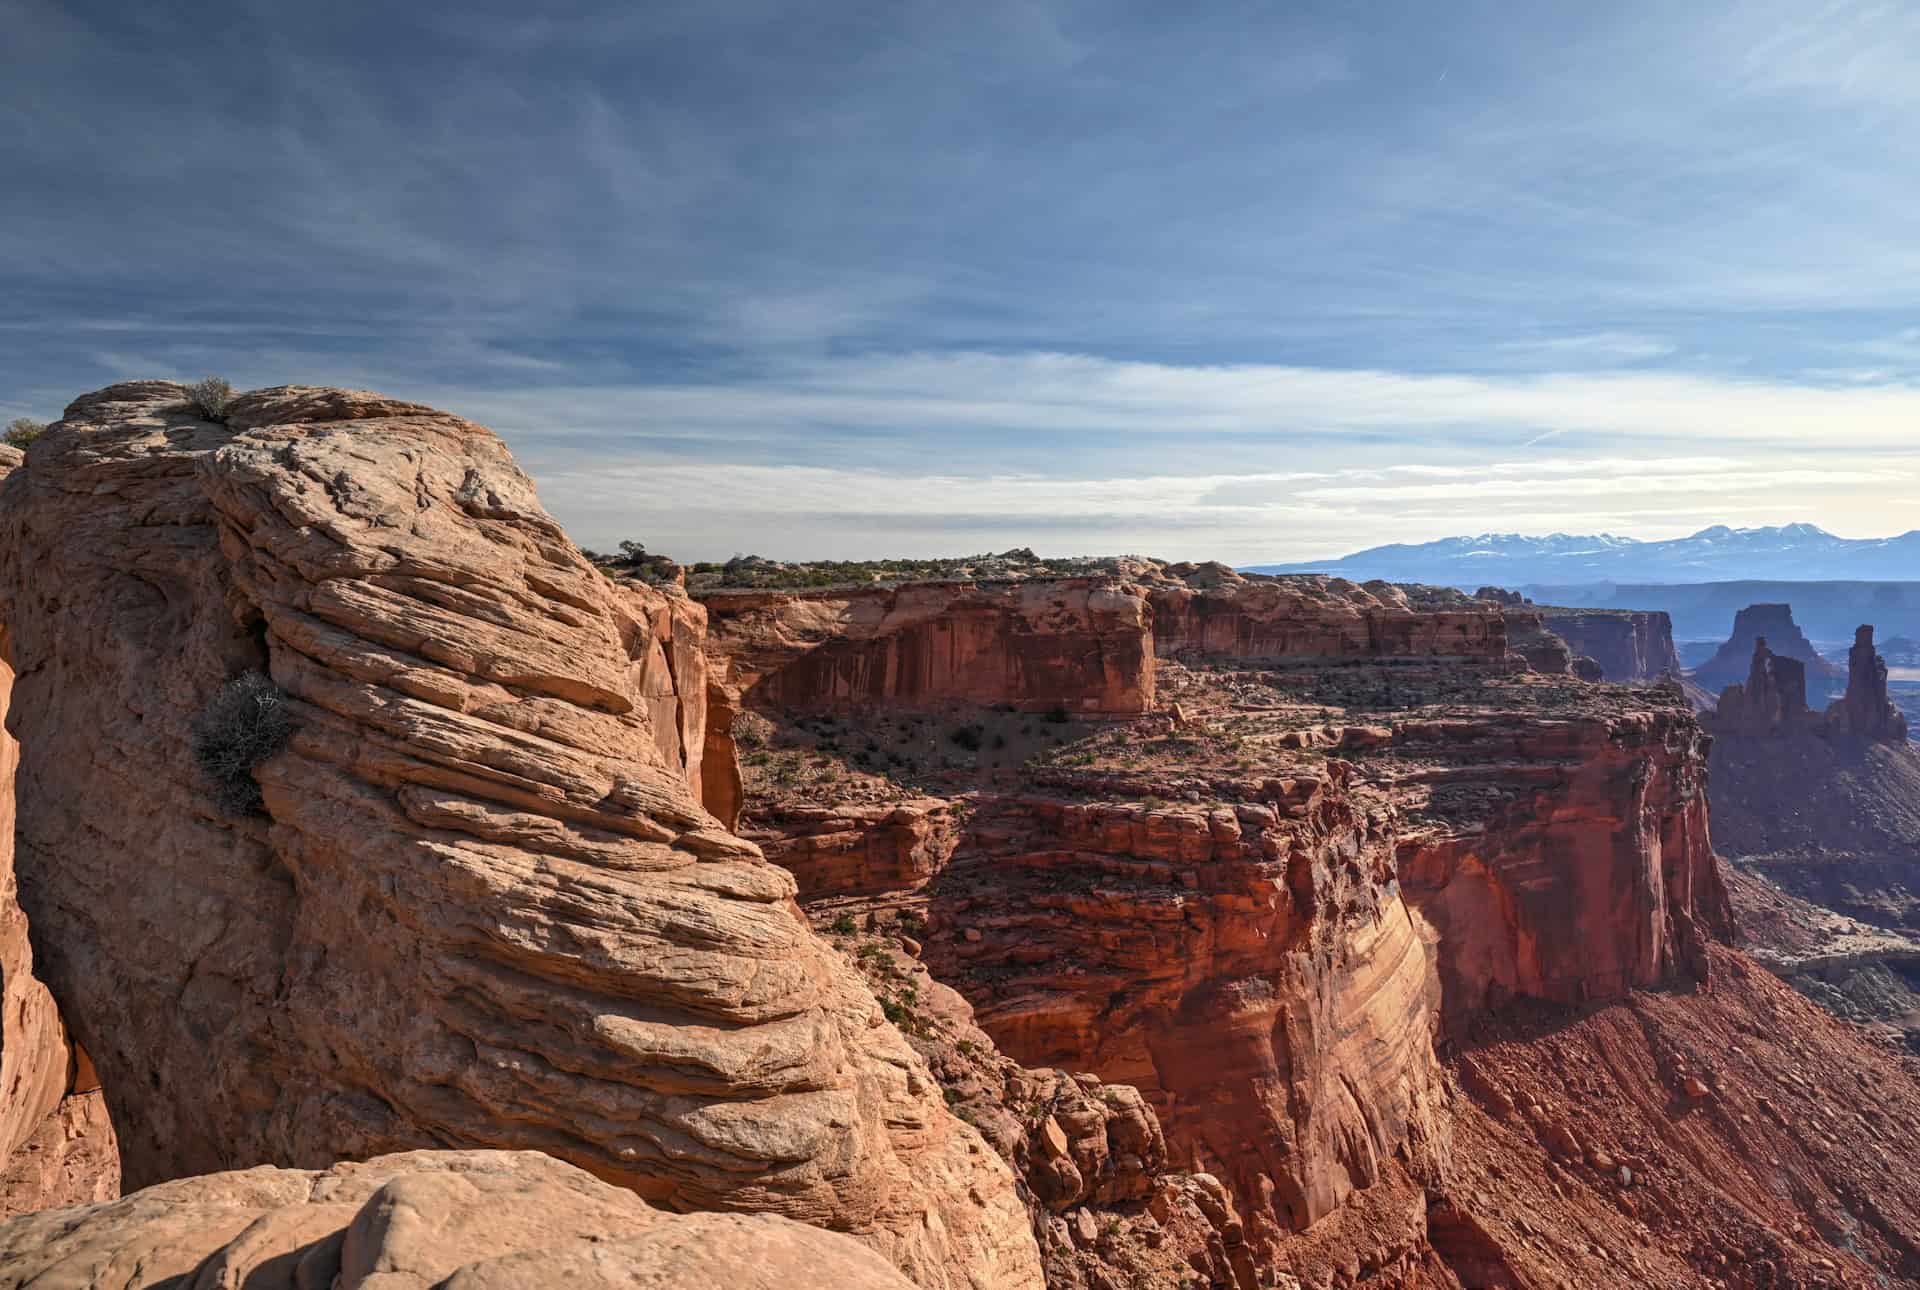
Mesa Arch sits directly on the edge of a sheer drop, framing a wide view of the canyon below.


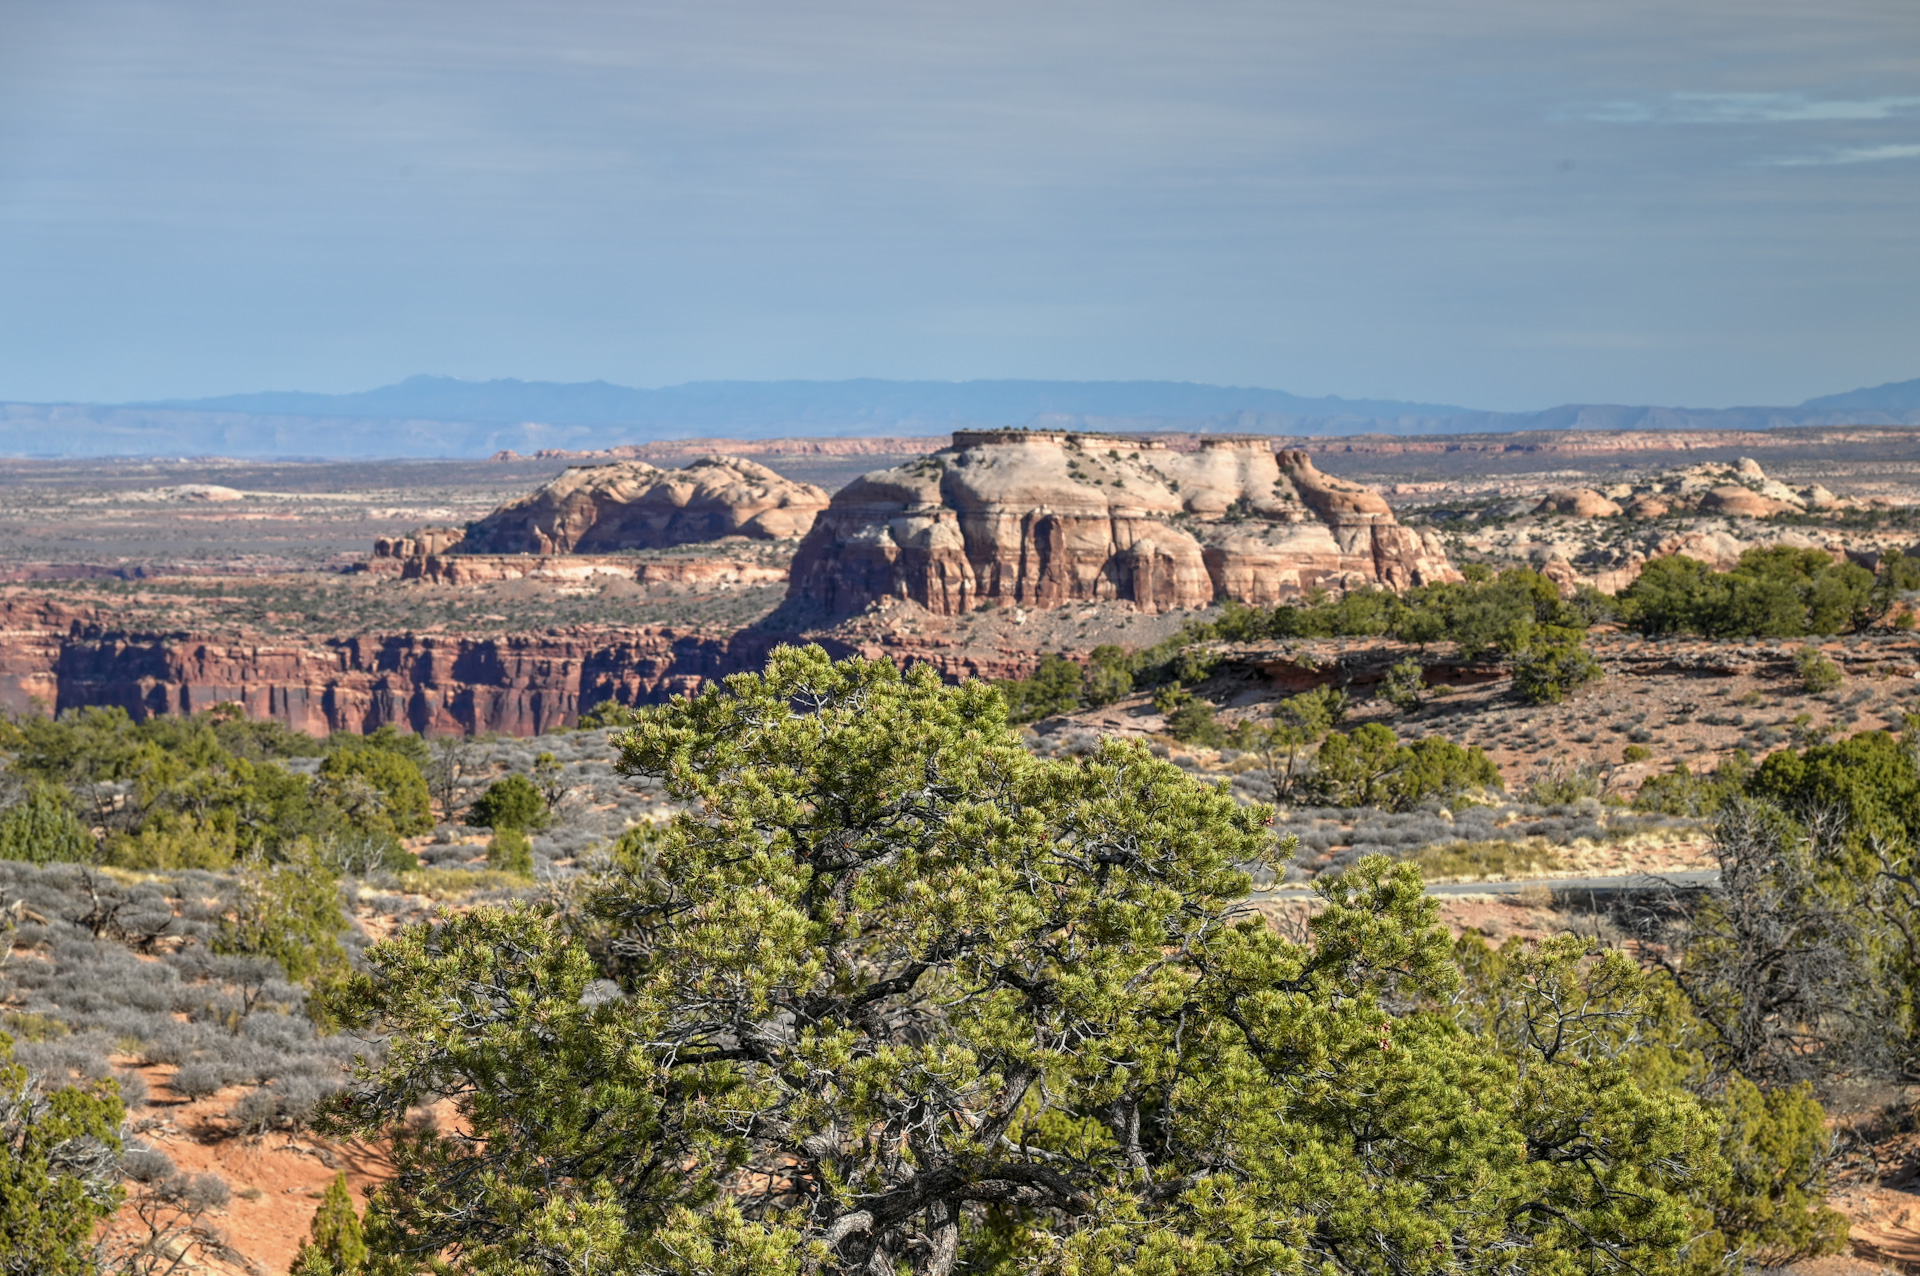
Through the opening, you’ll see layered canyons, massive rock formations, and distant cliffs stretching across the Island in the Sky district. The perspective looks out over Buck Canyon, with deep canyons carved into the plateau below.
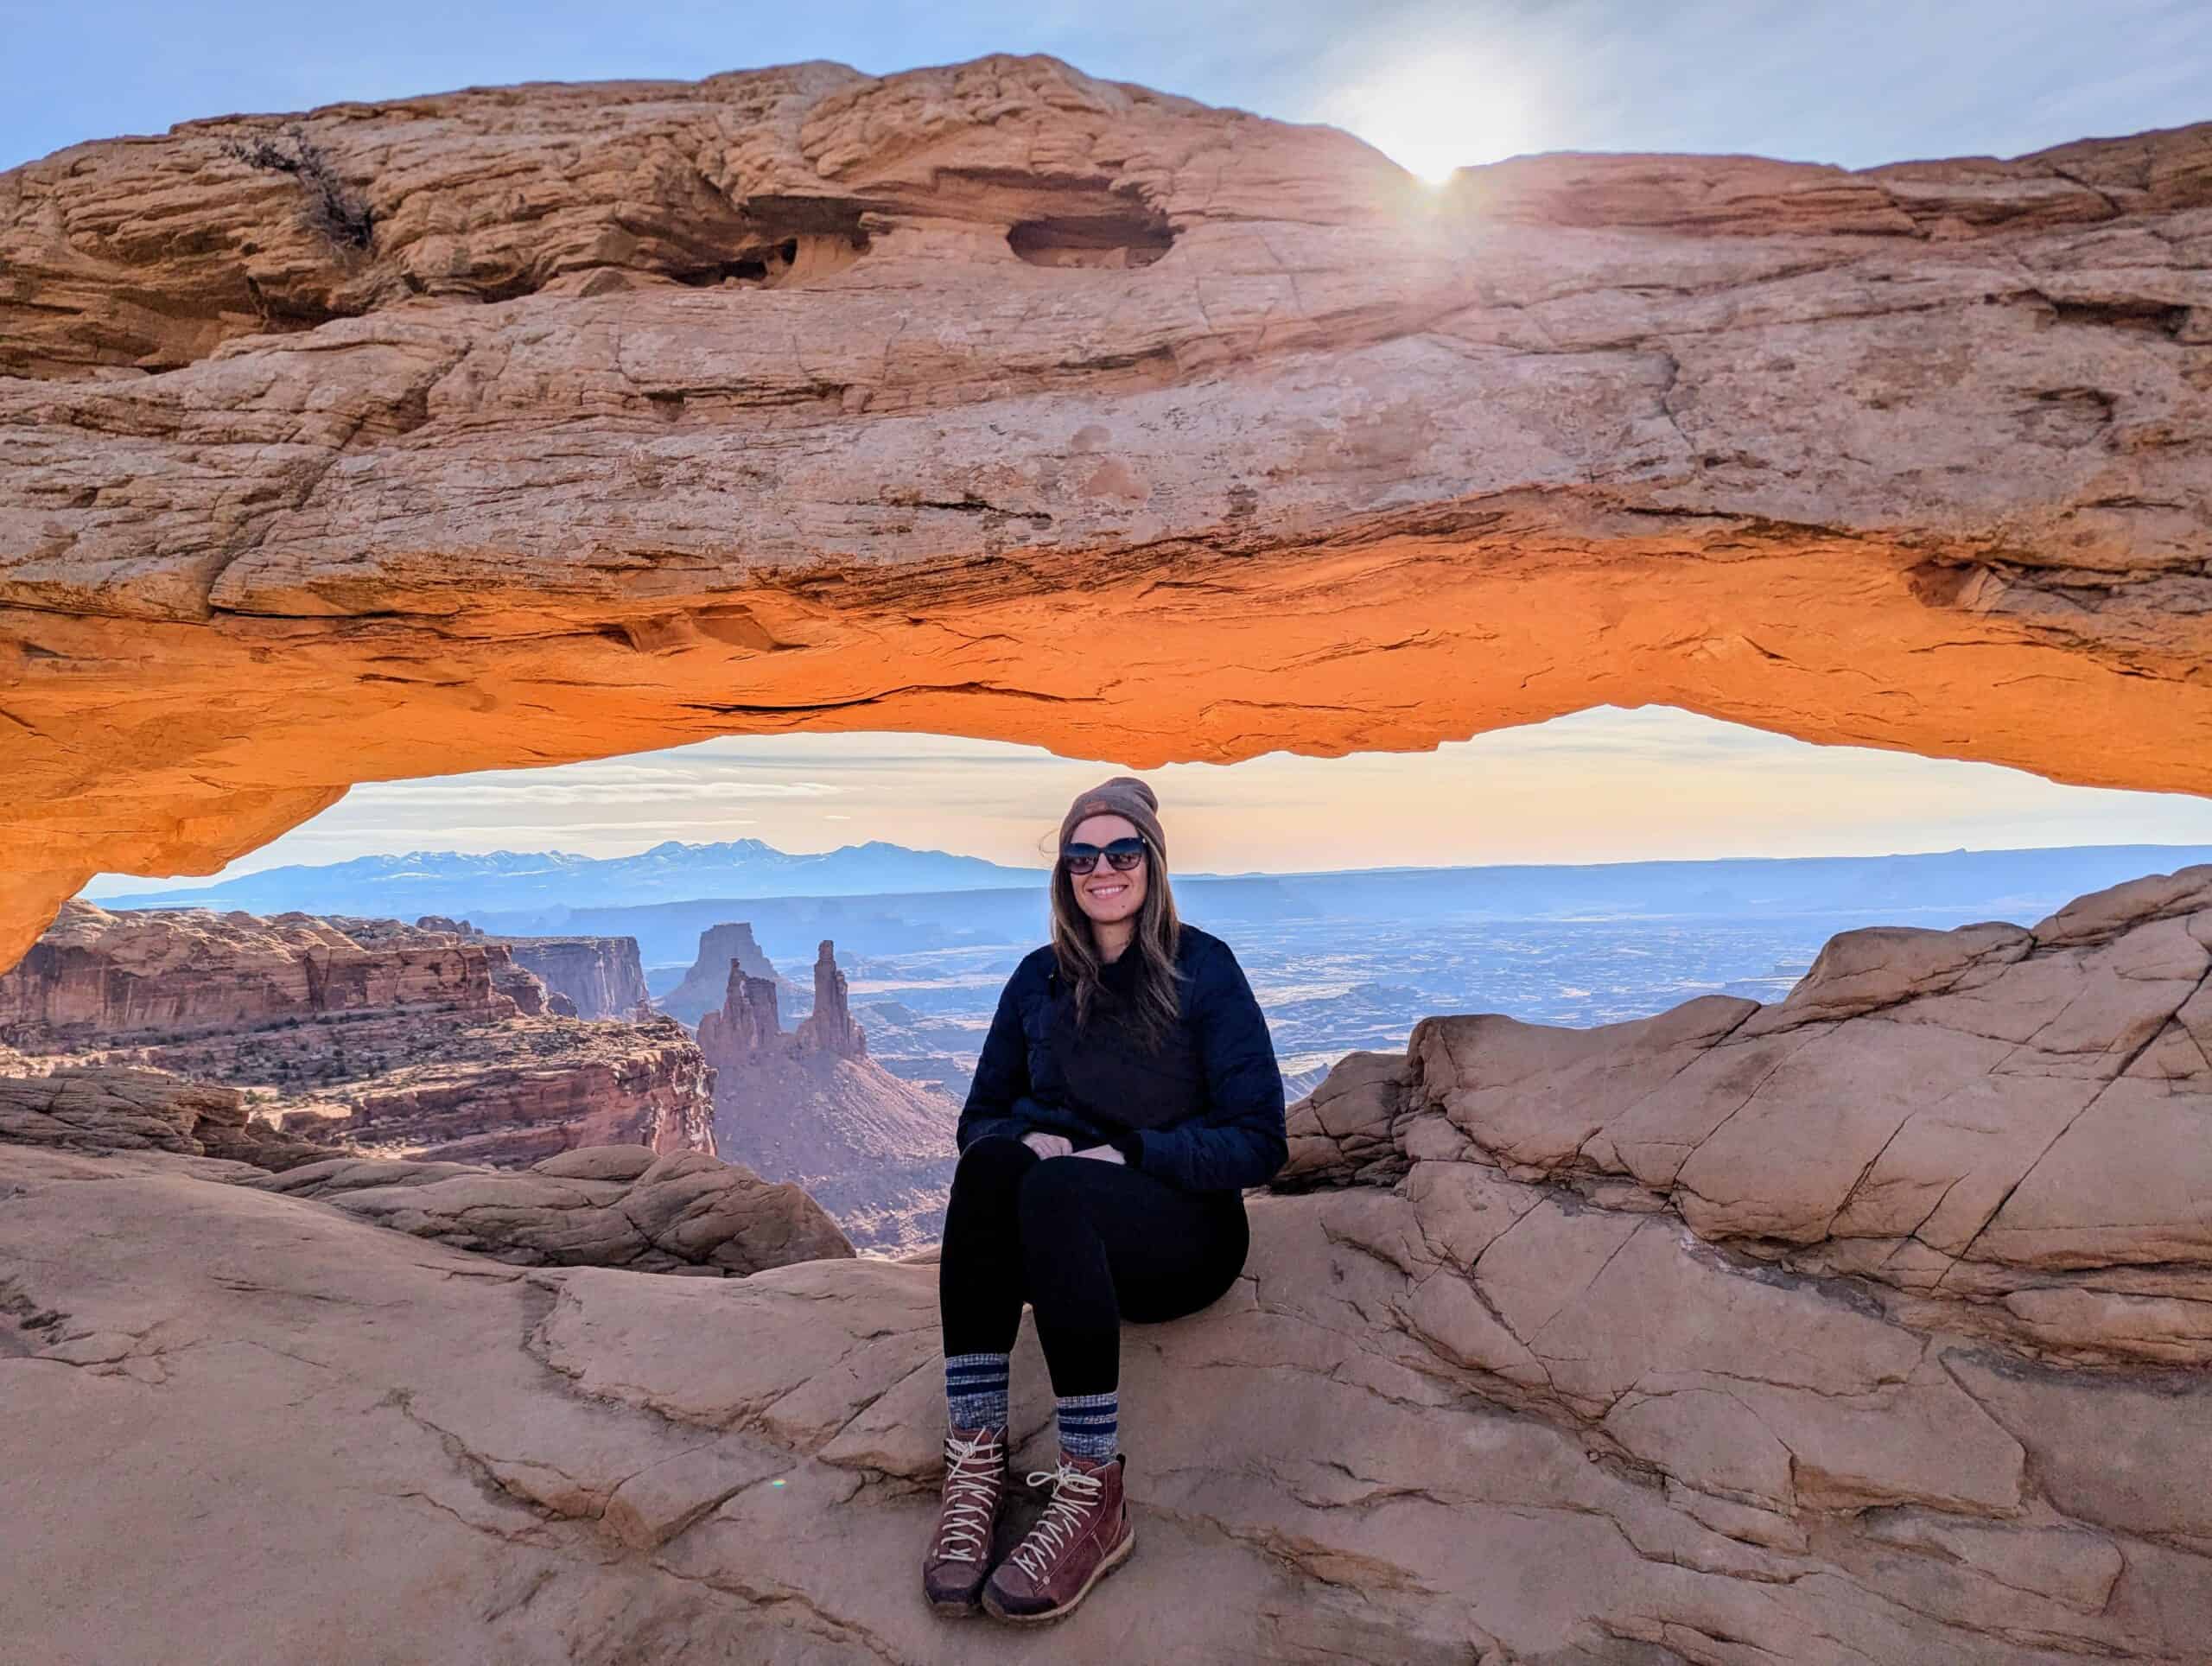
The viewing area around the arch is relatively small, with uneven rock surfaces and limited space to move around. This becomes especially noticeable at sunrise, when photographers line up beneath the arch to capture the light.
At that time of day, the underside of the arch briefly glows orange as sunlight reflects upward from the canyon walls, the effect that has made this one of the most photographed spots in Utah.
Outside of sunrise, the arch still offers expansive views and a quieter experience. During our last visit, we arrived about 30 minutes after sunrise, and the light was still beautiful, and the sunrise crowds had started to dissipate.
After spending time at the viewpoint, you can continue along the loop to return to the trailhead, which takes just a few additional minutes.
Mesa Arch Trail – Additional Details and Hiking Tips
Canine companions: Dogs are not permitted on the Mesa Arch Trail. Pets are only allowed in designated areas of Canyonlands National Park, primarily on paved roads, parking areas, and campgrounds.
Trail environment: The trail crosses open desert terrain on the Island in the Sky plateau, with a mix of dirt paths and slickrock. Vegetation is sparse, consisting mainly of low shrubs and small juniper trees. The area is fully exposed, with no meaningful shade along the route.
Route signage: The trail is easy to follow, with a well-defined path from the parking lot. Cairns (small rock piles) mark sections where the route crosses slickrock.
Trail surface / technical aspects: The surface alternates between packed dirt and smooth sandstone. There are no technical sections or scrambling required, though footing can be uneven near the arch and along the rim.
Slope and effort: The trail is mostly flat with only minor elevation changes. Physical effort is minimal, and the hike is short enough that it feels more like a walk than a climb.
Previous hiking experience: Suitable for all experience levels. This is one of the most accessible viewpoints in the park and works well for families and casual hikers.
Cell service: Reception is limited. You may get a weak signal near the parking area, but coverage is unreliable overall.
Leave No Trace: Stay on marked paths and slickrock to avoid damaging fragile desert soil. Avoid stepping too close to the edge near the arch, and pack out all trash.
Bugs: Insects are typically minimal. Flies can occasionally be present in warmer months, but bugs are rarely an issue.
Equipment: No special gear is required. Comfortable walking shoes or light hiking shoes are recommended. Bring water and sun protection, especially during warmer months.
Weather and Exposure: The trail is fully exposed, with strong sun for most of the day. Early mornings can be cold, especially if arriving before sunrise. After rain, slickrock sections may become slippery.
Current Trail Conditions: Check the National Park Service alerts page for Canyonlands National Park before your visit for updates on weather, closures, or temporary restrictions.
Hiking Packing List
All Trails subscription – This comes in really handy for areas with little or no cell reception, as the annual subscription allows you to download trail maps for offline use.
External Battery – If you are using your phone to track your progress along the trail or to help with navigation, you certainly don’t want your phone to die on you. That’s especially true in the unlikely event that you might get hurt or need assistance.
Hiking poles – These can be particularly useful in steep trails or muddy/boggy trail conditions.
Water Filter Bottle – The Life Straw bottle is an advanced water bottle with a filter that not only improves water taste but more importantly filters out bacteria and parasites, chemicals and microplastics.
Headlamp – very practical and a smart choice if you plan to start your hike before sunrise or finish it after sunset.
Best Time to Hike the Mesa Arch Trail
Best Time of Day
Sunrise (for the glow effect)
Sunrise is the most popular time to visit Mesa Arch. As the sun rises, light reflects off the canyon walls below and illuminates the underside of the arch with a bright orange glow.
This effect only lasts a few minutes, but it’s what draws photographers here in large numbers. Expect very heavy crowds, with people lining up well before sunrise to secure a spot beneath the arch.
Early morning (30–60 minutes after sunrise)
For most visitors, this is the best balance. The harshest crowds begin to thin shortly after sunrise, while the light remains soft and directional across the canyon. You won’t get the glowing underside effect, but the views are still excellent, and the experience is far less congested.
If you’re not specifically aiming to photograph the arch at sunrise, arriving shortly after sunrise is often the more enjoyable option.
Midday
Lighting is flatter and less favorable for photography, but the short length of the trail still makes this an easy stop to fit into a broader itinerary.
Crowds remain steady throughout the day, though they are more spread out compared to sunrise.
Sunset
Mesa Arch is not a true sunset location. The arch faces east, so it does not receive the same dramatic lighting in the evening. While the surrounding landscape can still look good, this is not a peak time to visit.
Best Seasons
Spring and fall offer the most comfortable conditions, with mild temperatures and generally stable weather. These are also the busiest times of year in Canyonlands National Park.
Summer brings very hot temperatures, especially later in the day. If visiting in summer, early morning is strongly recommended.
Winter is the quietest season. Cold temperatures are common, especially before sunrise, but occasional snow can add contrast to the red rock landscape.
Quick Summary – When to Visit
Mesa Arch is best known as a sunrise destination, but that comes with significant crowds. For a quieter experience with still-beautiful lighting, aim to visit shortly after sunrise. Spring and fall offer the best overall conditions, while summer visits are best done early in the day.
Is the Mesa Arch Trail Worth It?
We definitely think so, with one caveat. The Mesa Arch Trail is one of the easiest ways to access a truly dramatic viewpoint in Canyonlands National Park. In just a few minutes of walking, you reach an arch perched directly on the edge of a canyon, with expansive views that rival much longer hikes in the park.
That said, the experience varies a lot depending on timing. At sunrise, the lighting effect is unique, but so are the crowds. Outside of that window, the trail offers a much quieter and more relaxed visit, even if you miss the iconic glow.
Why You Might Enjoy It:
– Extremely short hike with a high visual payoff
– One of the most iconic viewpoints in Canyonlands
– Unique perspective from an arch sitting directly on the canyon rim
– Easy to fit into any Island in the Sky itinerary
– Accessible for most visitors, including those not looking for a long hike
Why It Might Not Be for You:
– Sunrise crowds can be intense and concentrated in a small space
– The trail itself is very short, which may feel underwhelming if you’re looking for a longer hike
– No shade and full exposure to the sun throughout the route
– Limited sense of exploration compared to longer backcountry-style trails
Bottom line: If you’re visiting the Island in the Sky district, Mesa Arch is absolutely worth the short walk. Just be mindful of timing, sunrise offers a unique visual effect, while early morning, just after sunrise, provides a more relaxed experience with fewer crowds.
Want to Explore More Hikes in Canyonlands (Island in the Sky)?
We’ve also created a complete guide to the best things to do in Canyonlands National Park (Island in the Sky), covering everything from short viewpoint trails to longer walks along the canyon rim. It includes practical tips for planning your visit, navigating the scenic drive, and choosing hikes based on time and difficulty.
Below are a few other hikes in the area that we highly recommend:
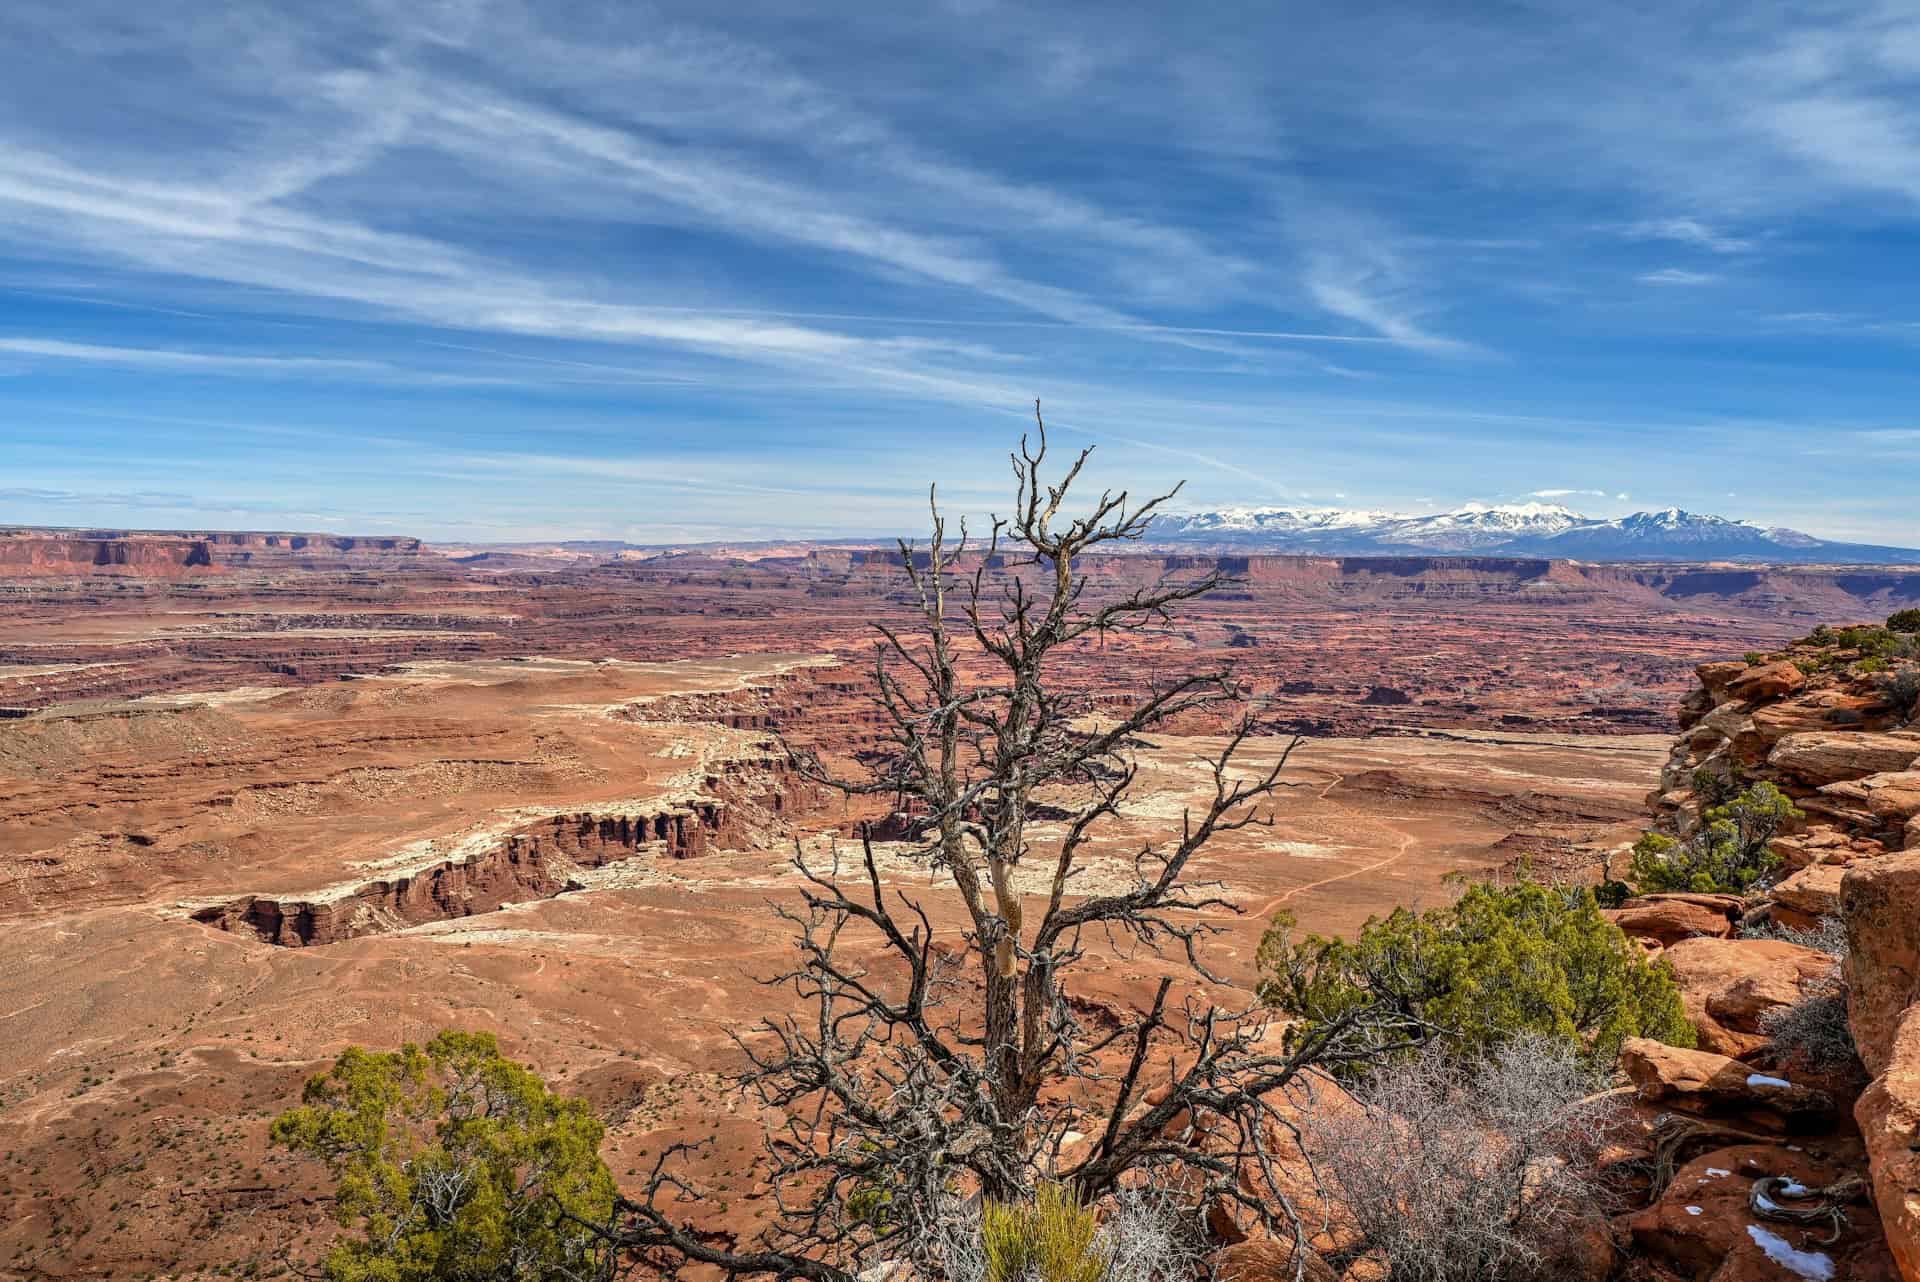
Grand View Point Trail
The Grand View Point Trail follows the canyon rim to one of the most expansive viewpoints in the park. Unlike Mesa Arch, where the view is concentrated through a single frame, this trail offers wide panoramic views in all directions, with sheer drop-offs and layered canyon scenery stretching far into the distance.
The path is mostly flat and easy to follow, extending out to a viewpoint at the southern tip of the Island in the Sky mesa. Along the way, multiple overlooks provide slightly different perspectives, making the return walk just as worthwhile as the outward journey.


For trail details and planning tips, see our Grand View Point Trail Hiking Guide.
White Rim Overlook Trail
The White Rim Overlook Trail is a short out-and-back hike that leads to a quieter and less crowded viewpoint compared to Mesa Arch. The trail gradually descends across open desert terrain before reaching a viewpoint overlooking the White Rim Road far below.
From the overlook, you get a clear sense of the scale of the canyon system, with sweeping views down to the canyon corridor and surrounding rock layers. Because it requires a bit more effort than Mesa Arch and sits slightly off the main flow of traffic, it tends to feel more peaceful.


For trail details and planning tips, see our White Rim Overlook Trail Guide.
Where to Stay near Canyonlands National Park
Unlike some national parks with lodging near the entrance, Canyonlands National Park (Island in the Sky) does not have hotels or services nearby. The closest and most convenient base is the town of Moab, located about 30–40 minutes from the park entrance.
Moab serves as the main hub for visiting both Canyonlands and nearby parks, offering a wide range of accommodations: from national hotel chains to boutique adventure lodges. Staying in town makes it easy to:
- Access the Island in the Sky district early in the morning (especially useful for sunrise at Mesa Arch)
- Visit multiple parks in the same trip, including Arches National Park
- Choose from a variety of restaurants, grocery stores, and outdoor outfitters
- Book guided tours, rentals, and other activities in the area
Below are three well-located, reliable options at different mid-range price points and styles.
La Quinta Inn & Suites by Wyndham Moab
Best for: Comfortable, reliable mid-range stay with strong value
La Quinta offers a familiar, dependable experience with spacious rooms, a large outdoor pool, and complimentary breakfast. It’s located along the main highway entering Moab, about 10 minutes from the Arches entrance.
Why it works well:
- Good value relative to other Moab hotels
- Large parking area (useful for larger vehicles or road trips)
- Easy access in and out of town
This is a solid choice for families, road trippers, or anyone prioritizing comfort and practicality.
Best for: Modern amenities close to Arches
Wingate is one of the newer properties in Moab and sits slightly north of town, closer to the entrance of Arches. Rooms are modern and well-appointed, and amenities include a pool, fitness center, and free breakfast.
Why it stands out:
- Shorter drive to Arches (ideal for early starts)
- Newer build with a contemporary feel
- Reliable comfort without boutique pricing
If your priority is minimizing drive time into the park, this is one of the most convenient options.
Best for: Outdoor-focused travelers and an adventure vibe
Field Station blends hotel comfort with a gear-friendly, adventure-oriented design. The property includes communal gathering spaces, bike storage, and a laid-back atmosphere that caters to hikers, climbers, and mountain bikers.
Why people love it:
- Clean, minimalist rooms
- Social outdoor areas
- Feels aligned with the Moab adventure culture
It’s ideal if you want something more distinctive than a traditional chain hotel without sacrificing comfort.
A Quick Planning Tip
Moab fills quickly during spring and fall, especially March through May and October, so booking in advance is strongly recommended. Summer availability is often easier, but rates can still be high during peak travel periods.
Mesa Arch Trail – Frequently Asked Questions (FAQ)
How hard is the Mesa Arch Trail?
The Mesa Arch Trail is considered easy. The route is short, mostly flat, and does not require any technical hiking or scrambling.
How long does it take to hike the Mesa Arch Trail?
Most visitors reach the arch in 5–10 minutes and complete the full loop in 20–30 minutes. If visiting at sunrise, expect to spend additional time waiting for a viewing spot.
Do you need to hike to see Mesa Arch?
Yes. Mesa Arch is not visible from the road or parking lot. However, the hike is very short and accessible for most visitors.
Is Mesa Arch worth visiting if you don’t go at sunrise?
Yes. While sunrise is the most famous time to visit, the arch still offers impressive canyon views throughout the day. Visiting shortly after sunrise often provides a better balance of good light and fewer crowds.
How early should you arrive for sunrise at Mesa Arch?
During peak seasons, many visitors arrive 30–60 minutes before sunrise to secure a spot near the arch. Photographers often line up even earlier.
Is the Mesa Arch Trail crowded?
Yes, especially at sunrise. Crowds tend to concentrate around the arch itself, where space is limited. Outside of sunrise, the trail still sees steady traffic but is more manageable.
Is the Mesa Arch Trail suitable for families?
Yes. The short distance and minimal elevation gain make it suitable for most families. However, extra caution is needed near the cliff edge at the arch.
Are there guardrails at Mesa Arch?
No. The arch sits directly on a cliff edge with no barriers. Visitors should be cautious, especially when the area is crowded or when taking photos.
Are drones allowed?
No. Drones are strictly prohibited anywhere within Canyonlands National Park.
Is Mesa Arch better at sunrise or sunset?
Mesa Arch is best visited at sunrise. The arch faces east, and early morning light reflects off the canyon walls below, creating the well-known orange glow on the underside of the arch.
At sunset, the arch does not receive the same direct or reflected light, so the effect is much less dramatic. While the surrounding landscape can still look good in the evening, Mesa Arch is not considered a prime sunset location.
Explore More Utah National & State Park Guides
Continue exploring Utah with these detailed guides:
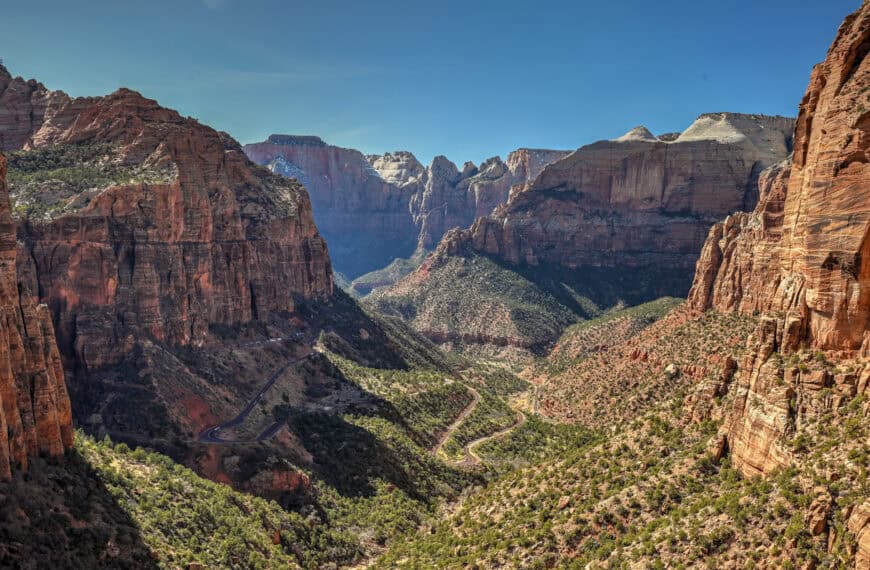
Zion National Park Guide
Bryce Canyon National Park
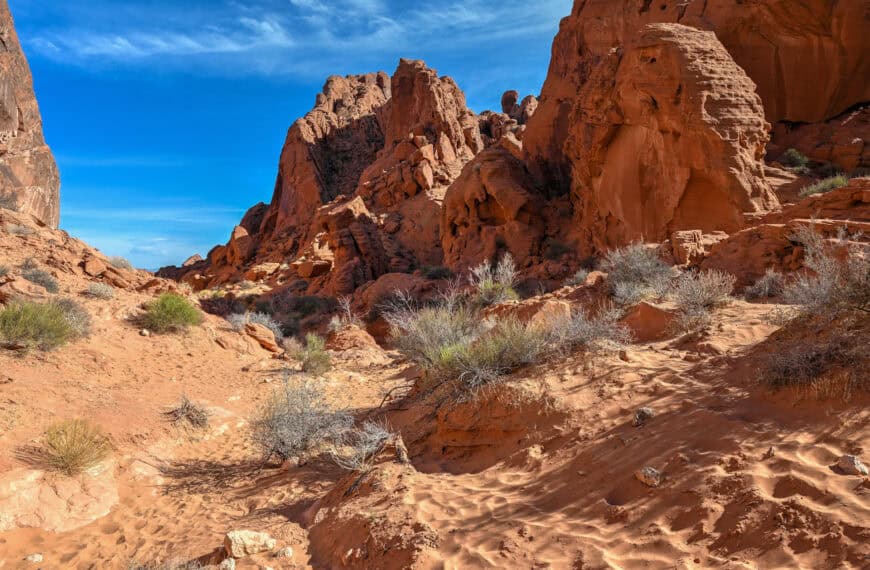
Goblin Valley State Park Guide
Monument Valley Guide
Arches National Park
Photography Gear
If you like our photography, you might be interested in some of the gear we use to shoot our travel and hiking destinations.
Camera Body – Nikon Z 6ii Fx-series Mirrorless Body
Main Lens – NIKON 24-120mm F/4G ED VR AF-S
Zoom Lens – Sigma 745-306 150-600mm f/5-6.3
Polarizing filters – Urth Circular Polarizing (CPL)
Camera Tripod – K&F Concept 64-inch Camera Tripod
Mini-tripod – Lammcou Flexible Camera Tripod
Camera/hiking backpack – Vanguard Alta Rise 48 Backpack
Universal Travel Adapter – VYLEE Universal International Power Travel Plug
Other Travel Essentials
Travel Insurance
SafetyWing is a travel insurance company that offers comprehensive coverage for travellers. Includes Medical Insurance and Travel Insurance. Primarily geared towards long-term travellers, digital nomads, and expats.
e-Sim cards
Airalo is the world’s first and largest eSIM store with eSIM plans for 200+ countries and regions worldwide. With Airalo eSIMs, travellers can get connected the moment they land at their destination and avoid nasty data roaming charges
eSIMS are a sustainable alternative to single-use SIM cards – they are 100% digital, require less energy to produce and be re-used rather than disposed of.
Car Rentals
Discover Cars is our go-to website for car rentals. We almost always find our preferred rate there.
Transfer from Airport
Welcome Pickups is our favourite private transfer service, which you can pre-book at a fixed price. Currently available in 220 cities all over the world (mostly in Europe, but with several major cities in Asia, the Middle East and the US).
Kiwitaxi is another private transfer service – we haven’t tried it yet, but it’s currently available in a few more countries (102 as of 2024).
Hotels and Accommodations (coming soon)
Photography Prints
If you found this blog useful, you can help support our blog by purchasing low-cost digital prints. Printed physical prints are also available for purchase.


—–
Well, that wraps it up! We hope you enjoyed our Canyonlands National Park Hiking Guide for the Mesa Arch Trail and that it will prove useful for planning your trip.
—–
You might also be interested in these related pages: